Summer is nearly run out, though here in Southern California a week of high heat is upon us. It’s going to be 94 Fahrenheit on Wednesday, and it appears that similar highs will persist through the end of the week. So it goes …
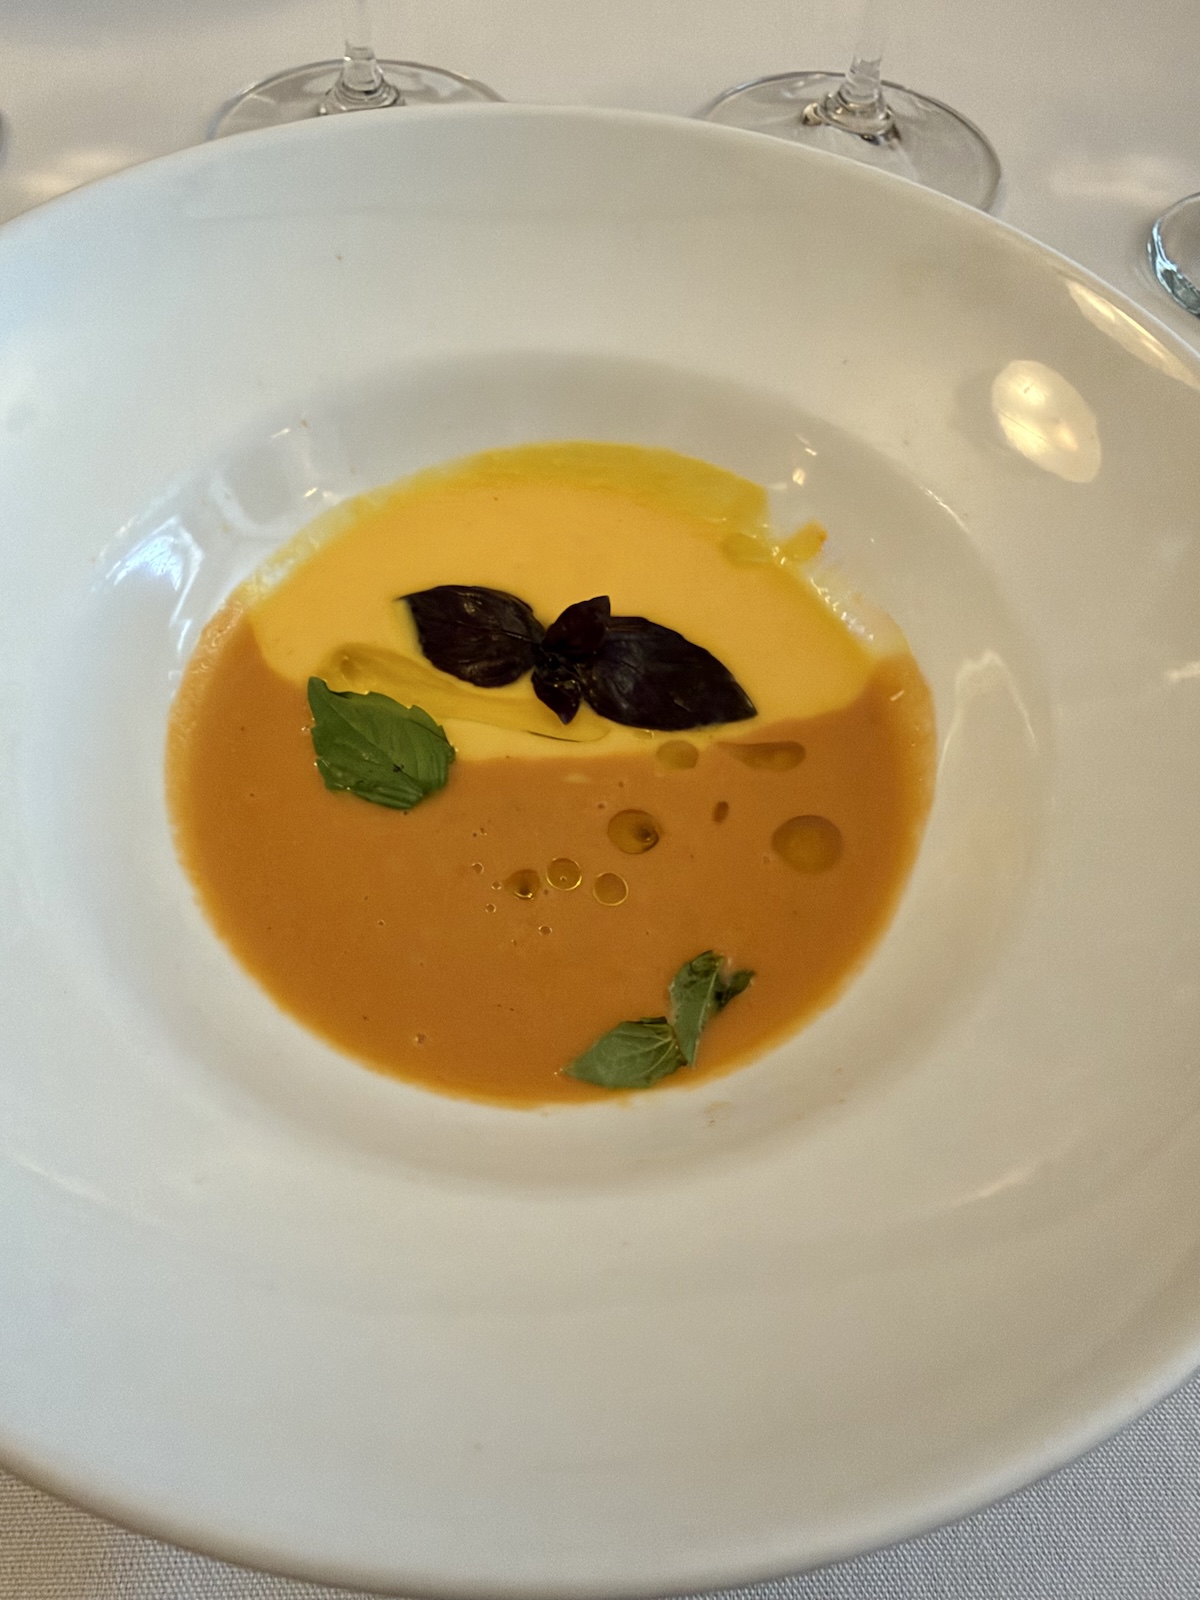
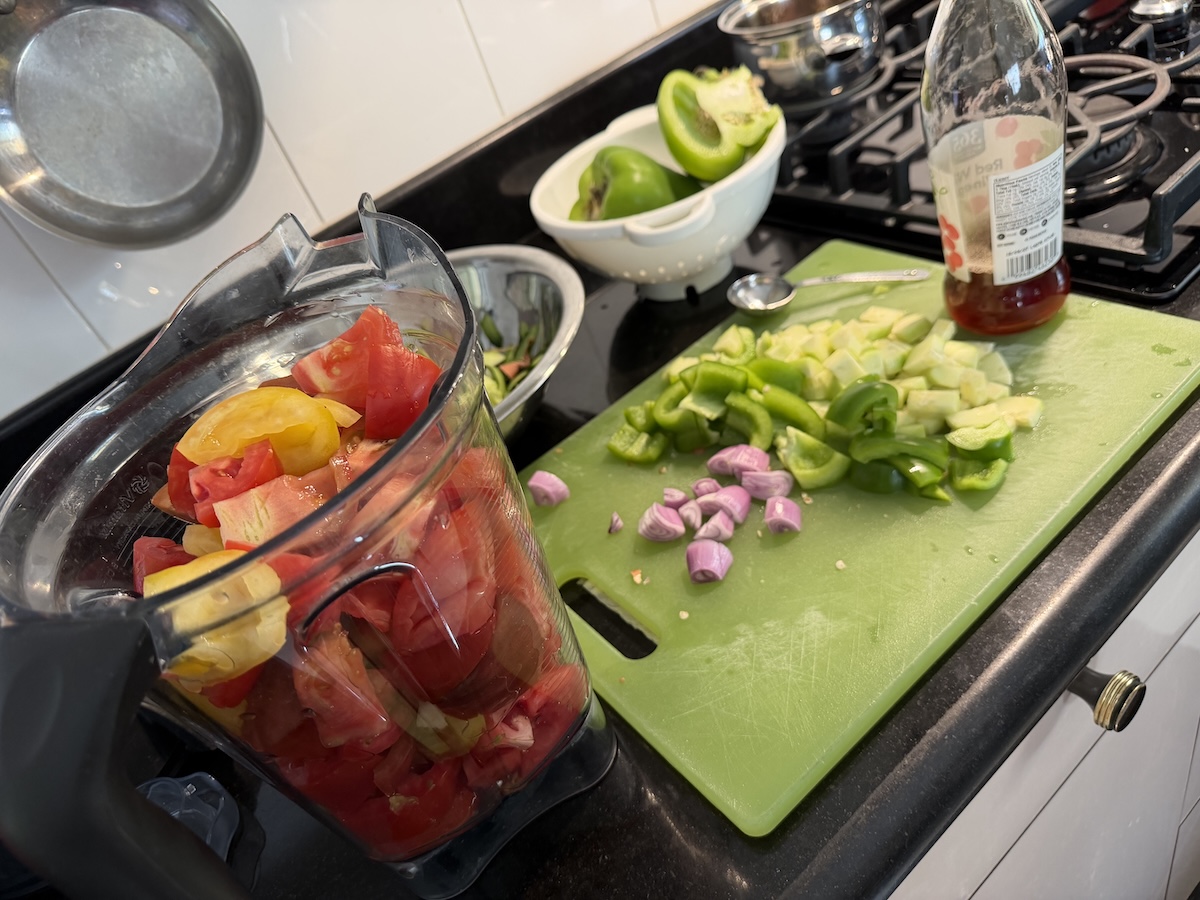
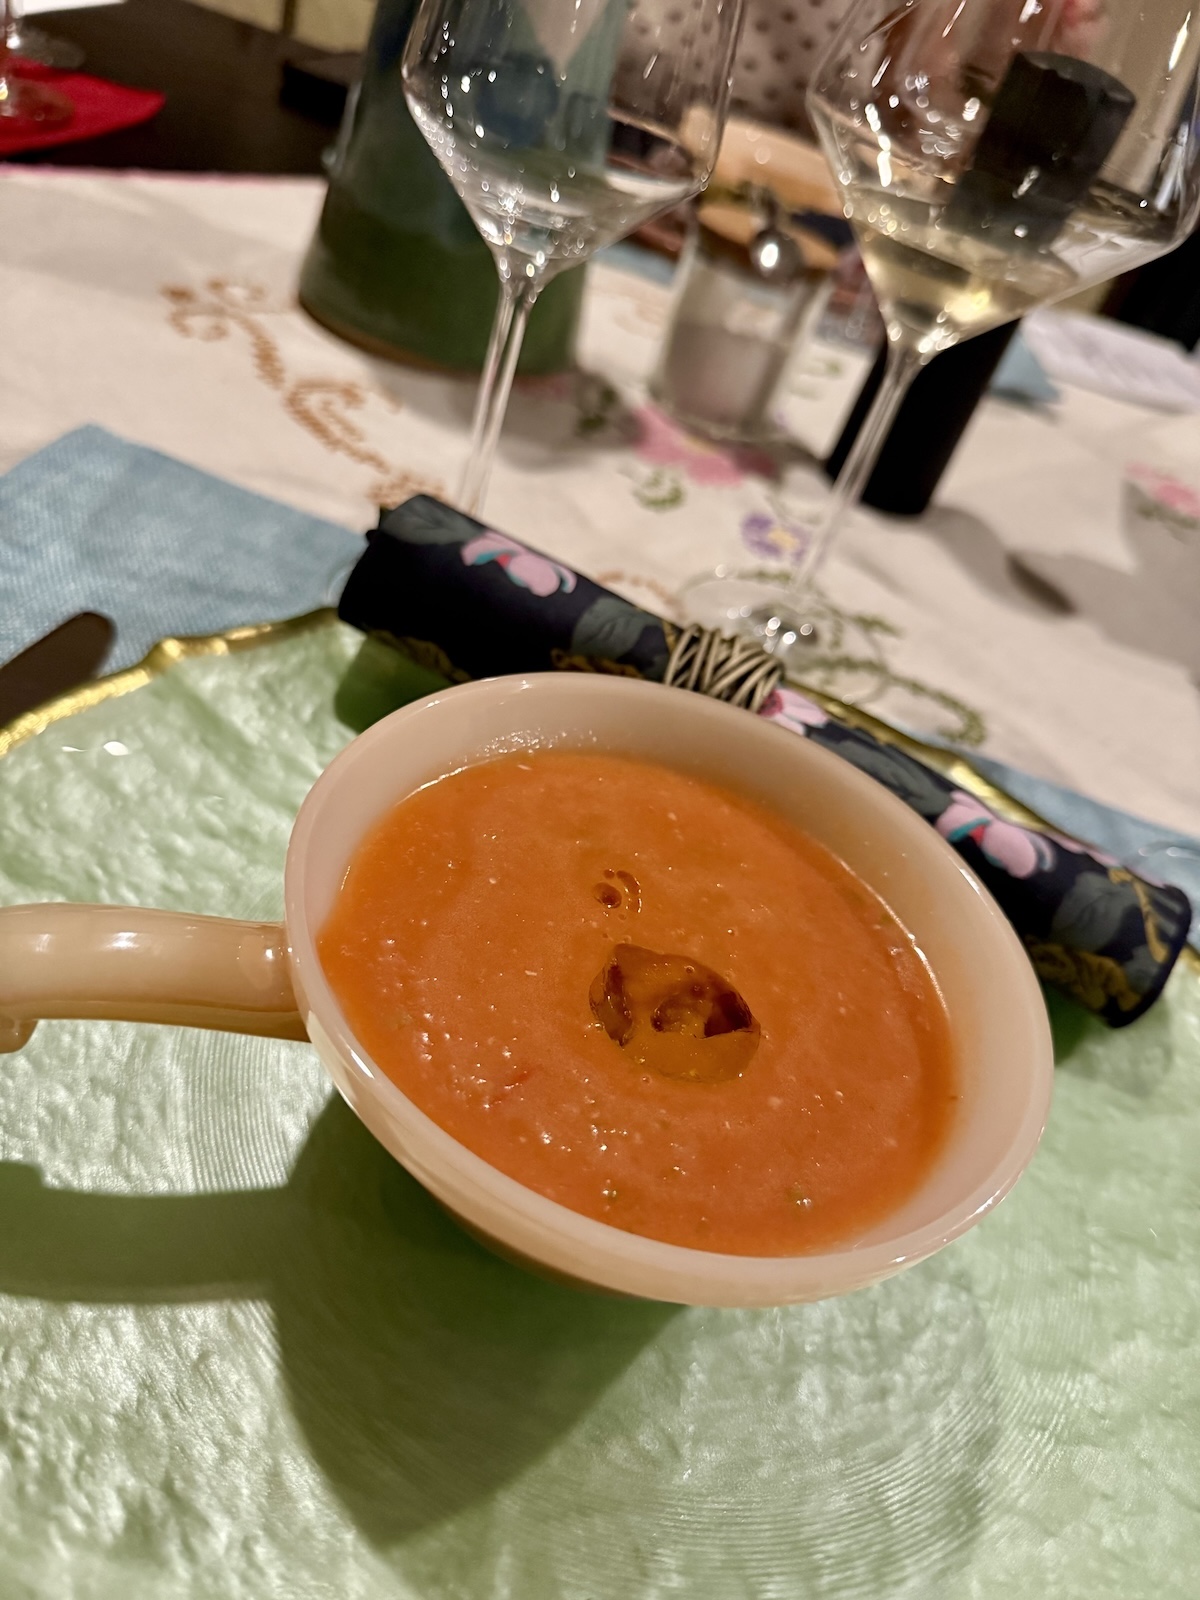
My Labor Day weekend was highlighted by a dinner party we hosted on Saturday, for which I began prepping on Friday by making gazpacho and ice cream. I was at lunch a week or so ago at Marino Restaurant and Sal Marino gave me his recipe for gazpacho, which I used. Here is an image of his version of this dish:
Sal Marino’s gazpacho is a tomato bomb. (Brockhaus Images)
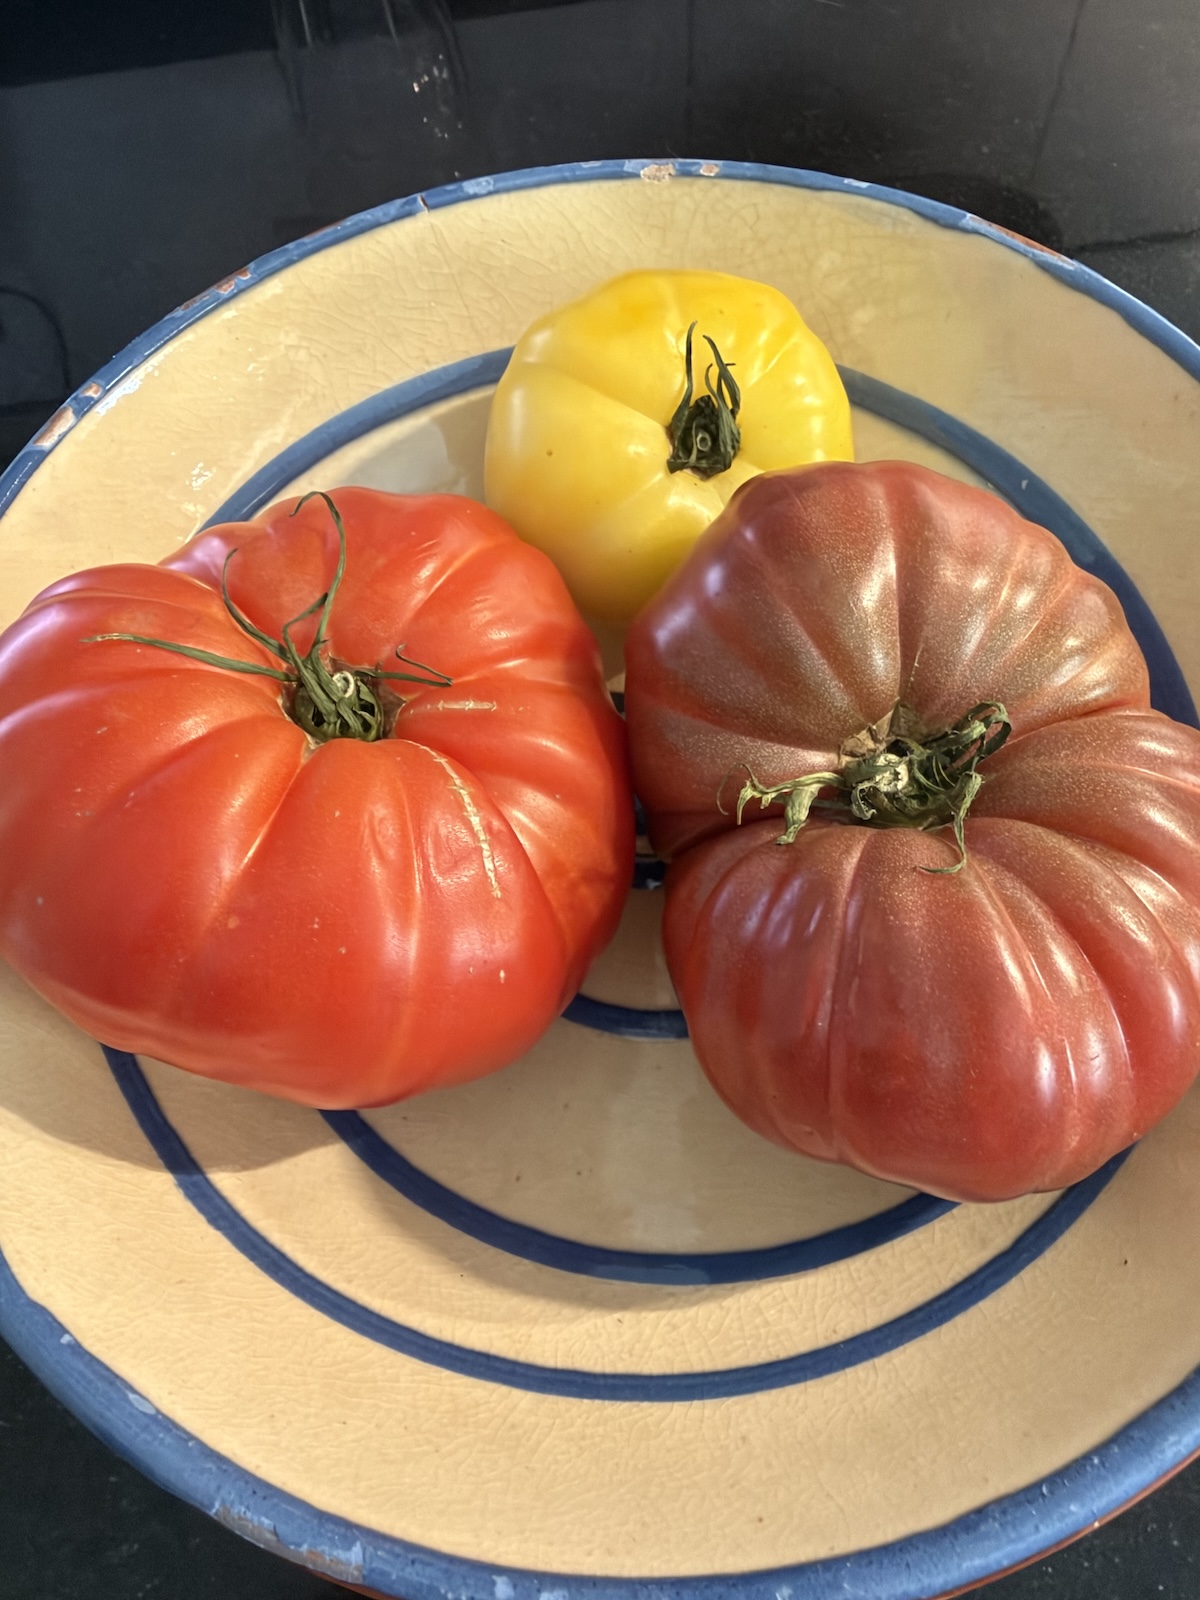
A few of the tomatoes I used for my gazpacho. (Brockhaus Images)
The guests numbered four, two regular dinner and cooking companions, two whom we have been attempting to get to our table for a few years now; something or other always interfered. But that is now a thing of the past.
This is a dish that everyone should master. Simple, yet full of complex flavor. (Brockhaus Images)
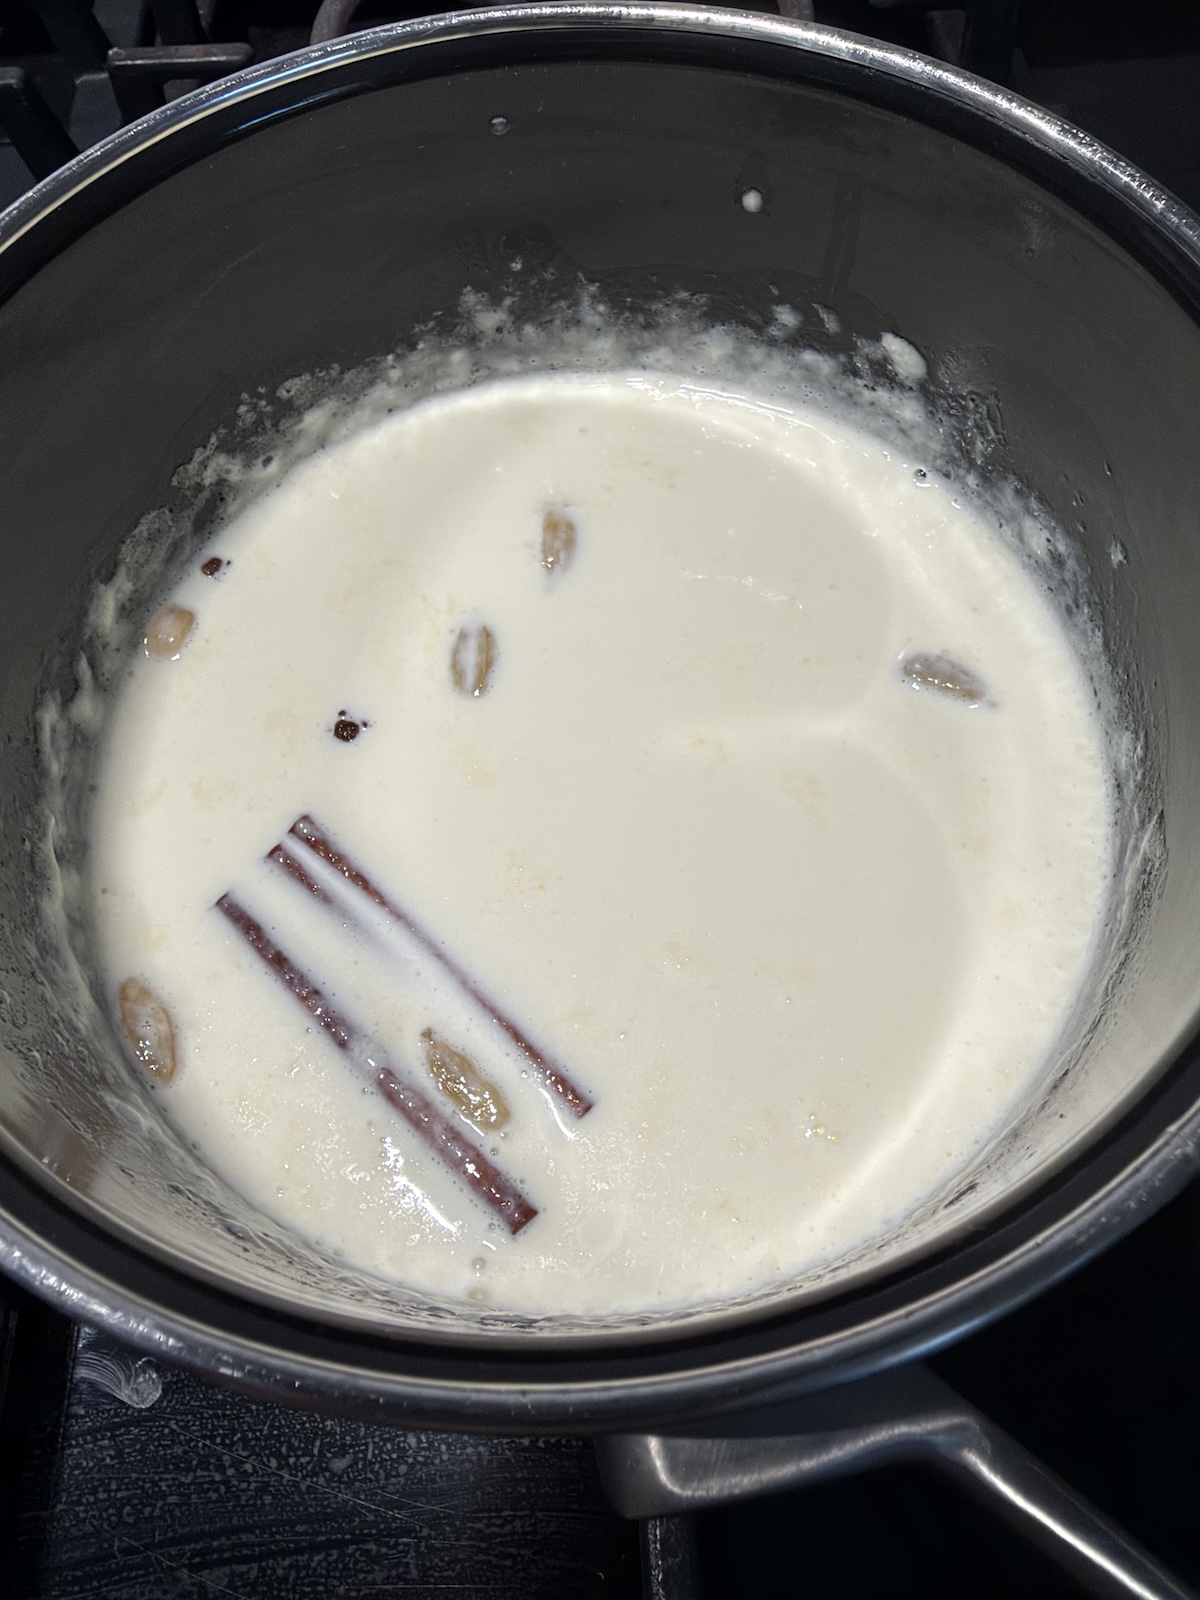
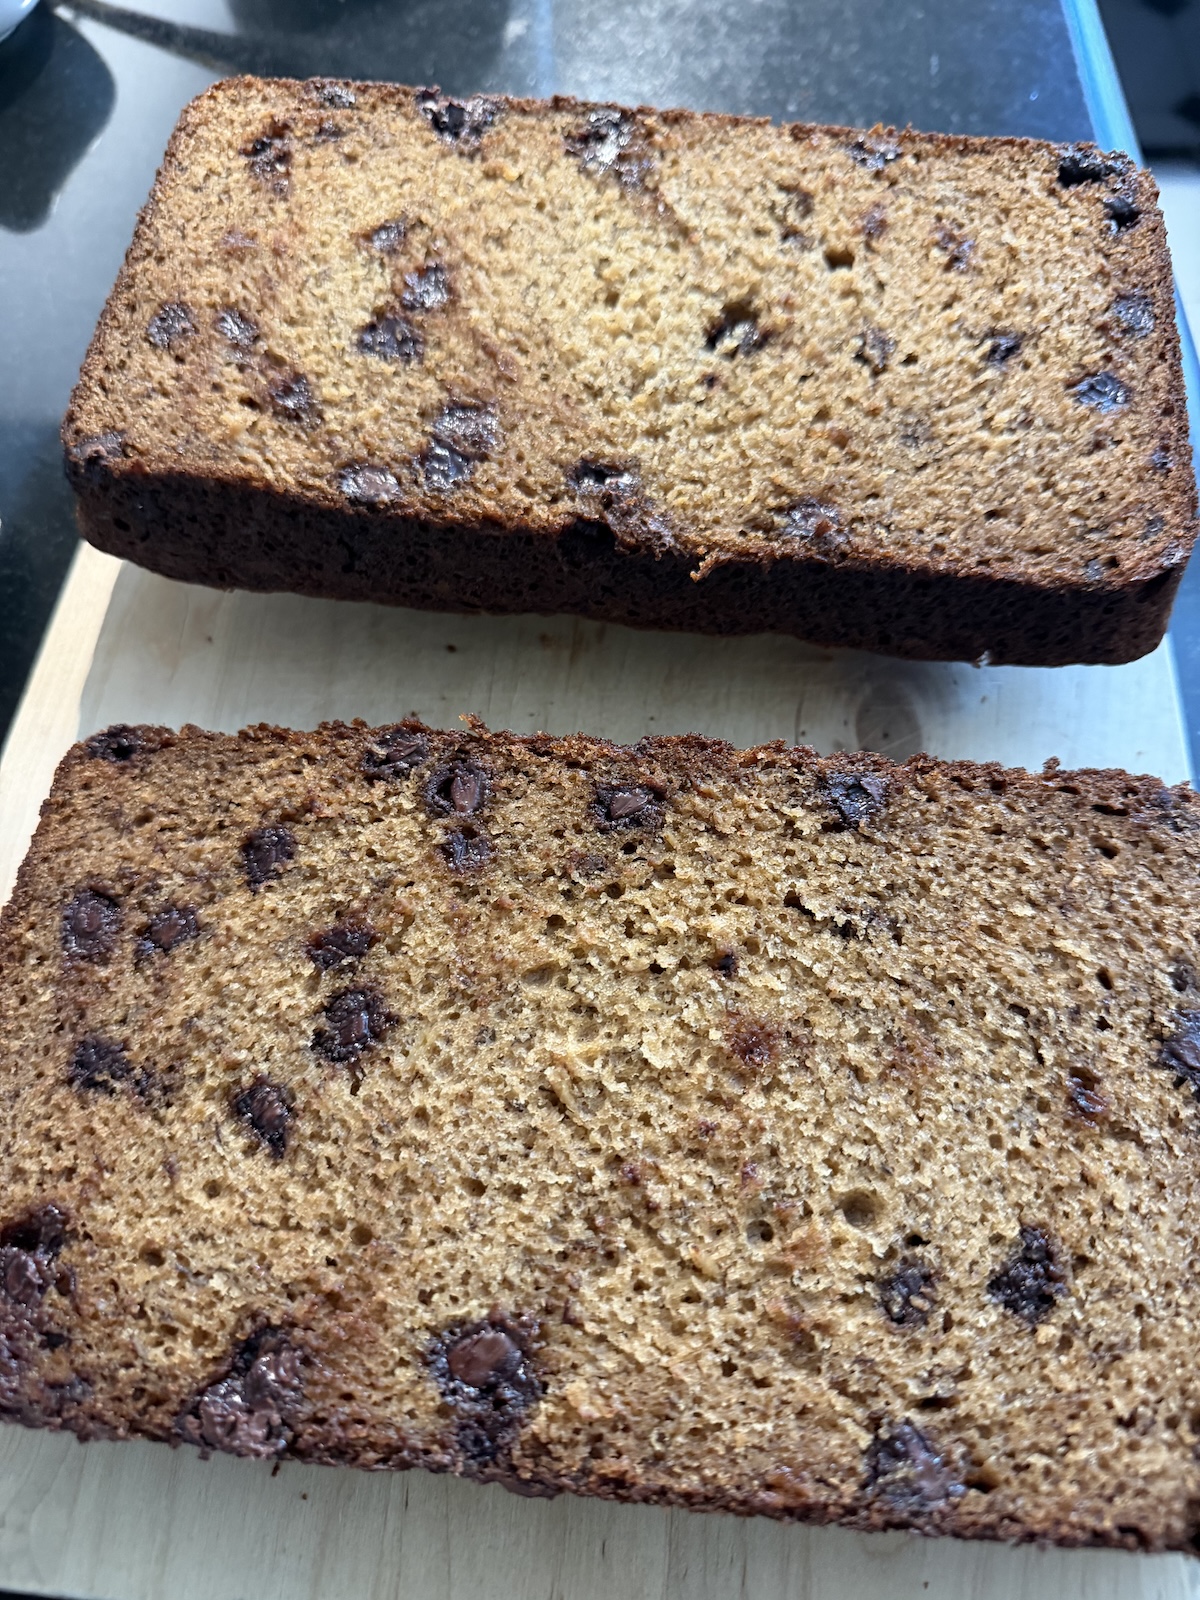
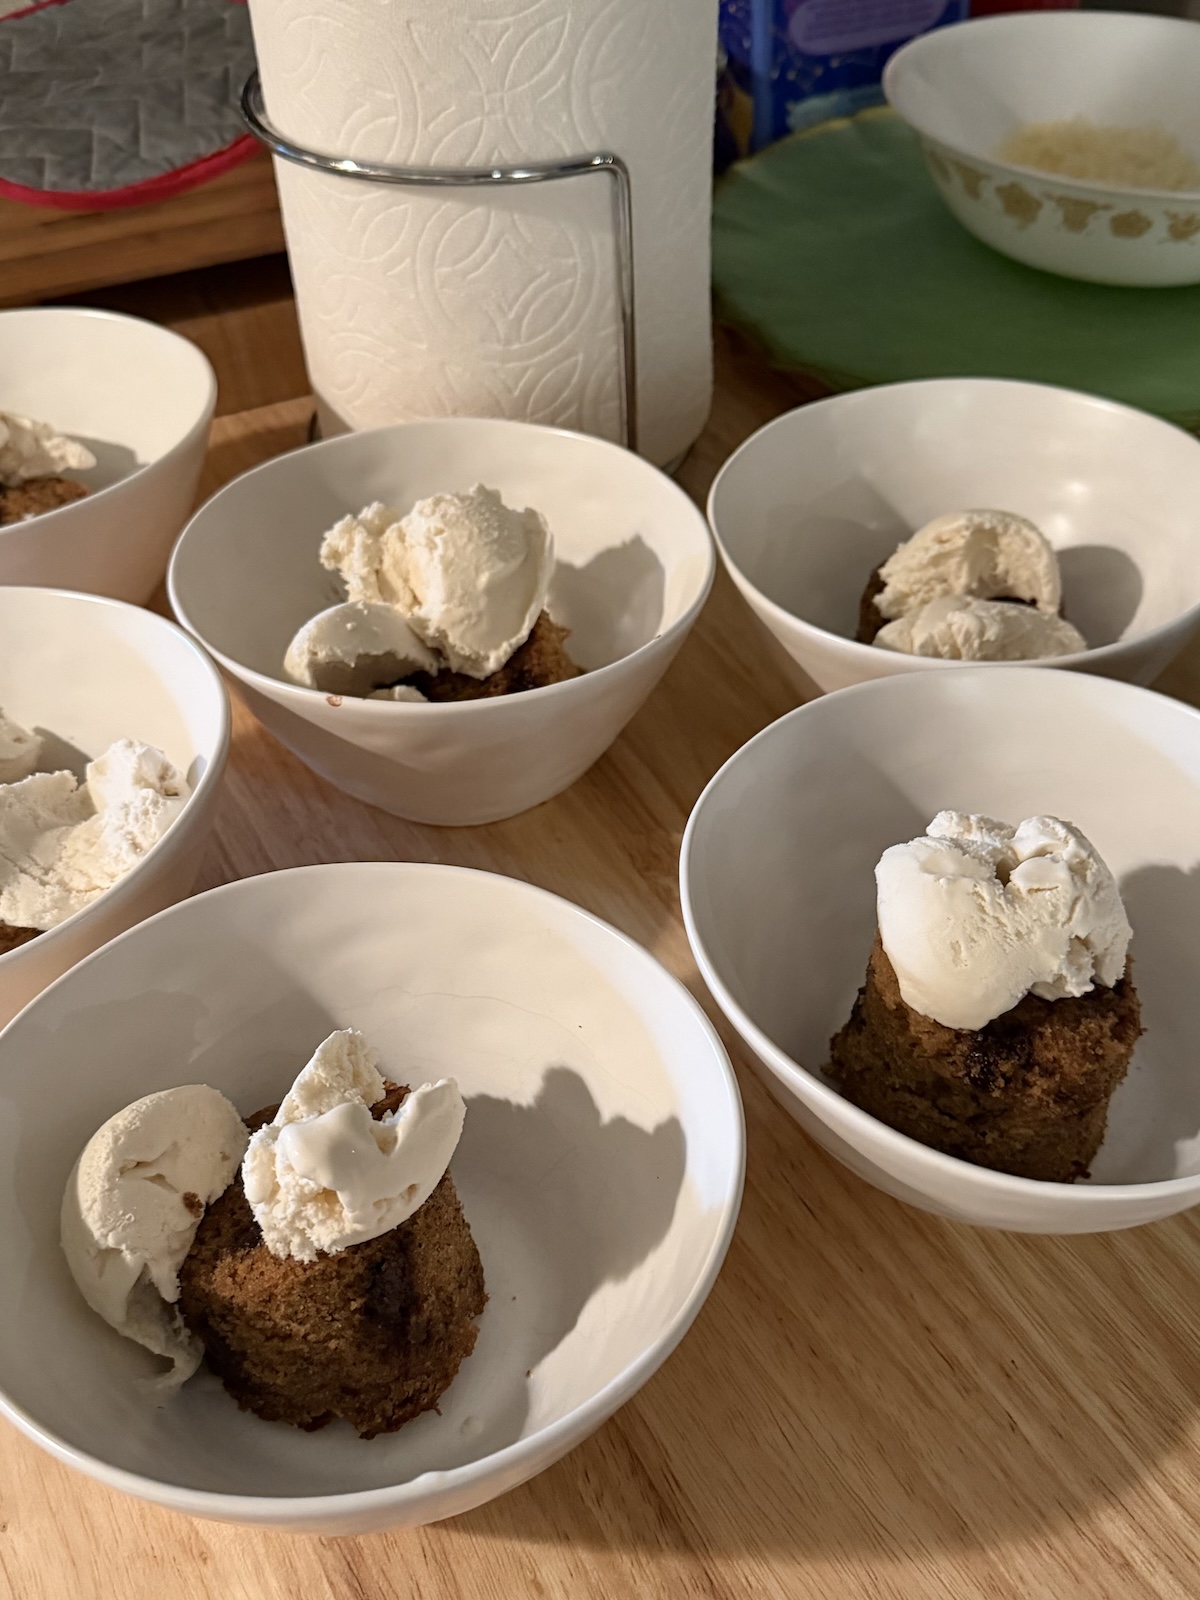
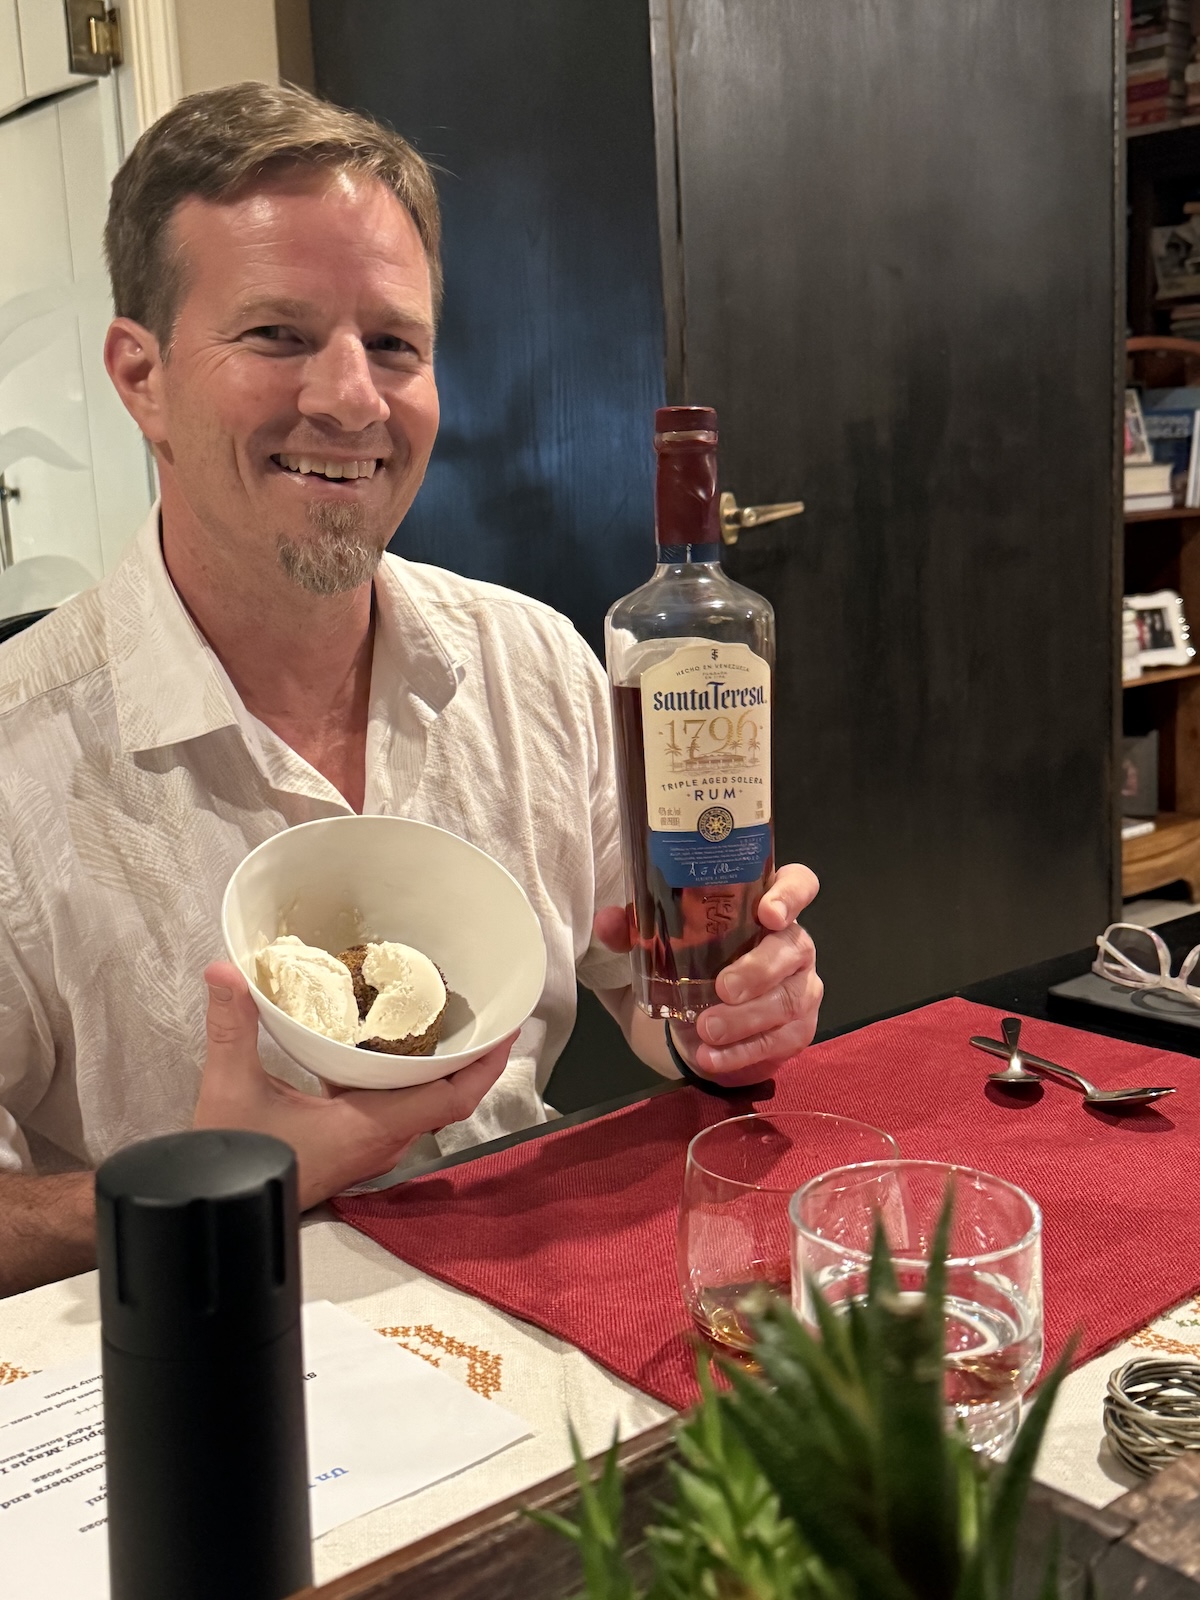
The ice cream I made without eggs, a Philadelphia-style spicy-maple concoction. I used heavy cream and simmered in it cardamom pods, cinnamon sticks, and some salt. About a cup of maple syrup I reduced, then added to the cream and milk mixture, and it all chilled overnight in the refrigerator. I made a chocolate-banana bread on Saturday morning and served the ice cream with it for dessert.
Spices and cream (Brockhaus Images)
A bread made with bananas, yogurt, and chocolate, plus browned butter. (Brockhaus Images)
The closing dish. (Brockhaus Images)
The table was set Saturday afternoon.
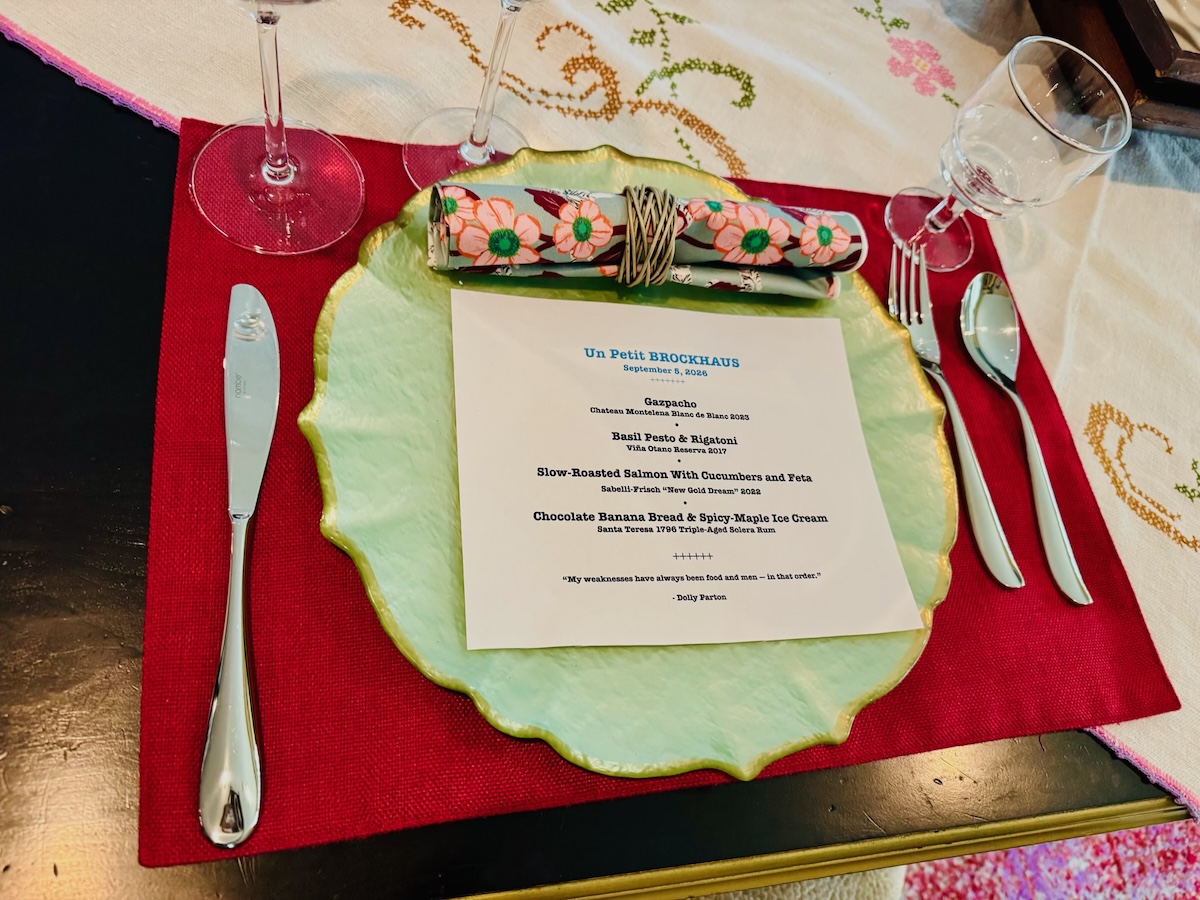
A seat for the evening. (Brockhaus Images)
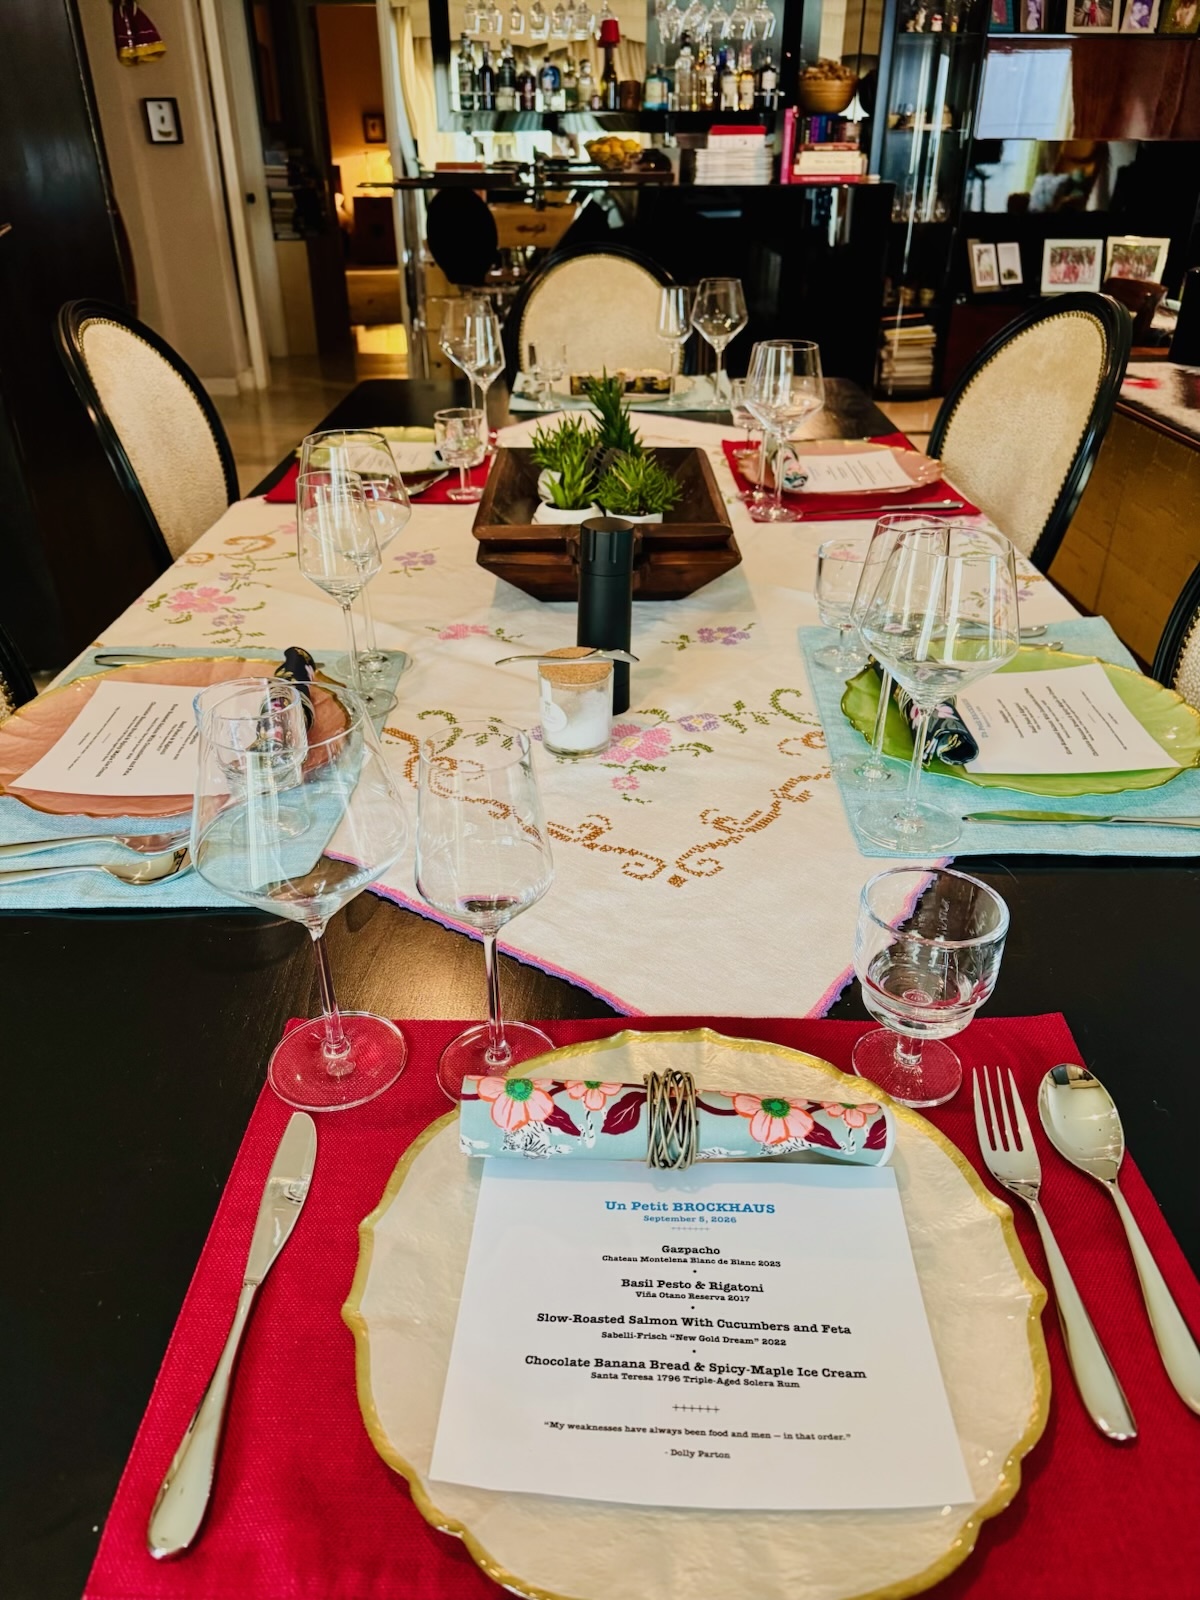
The table is ready. (Brockhaus Images)
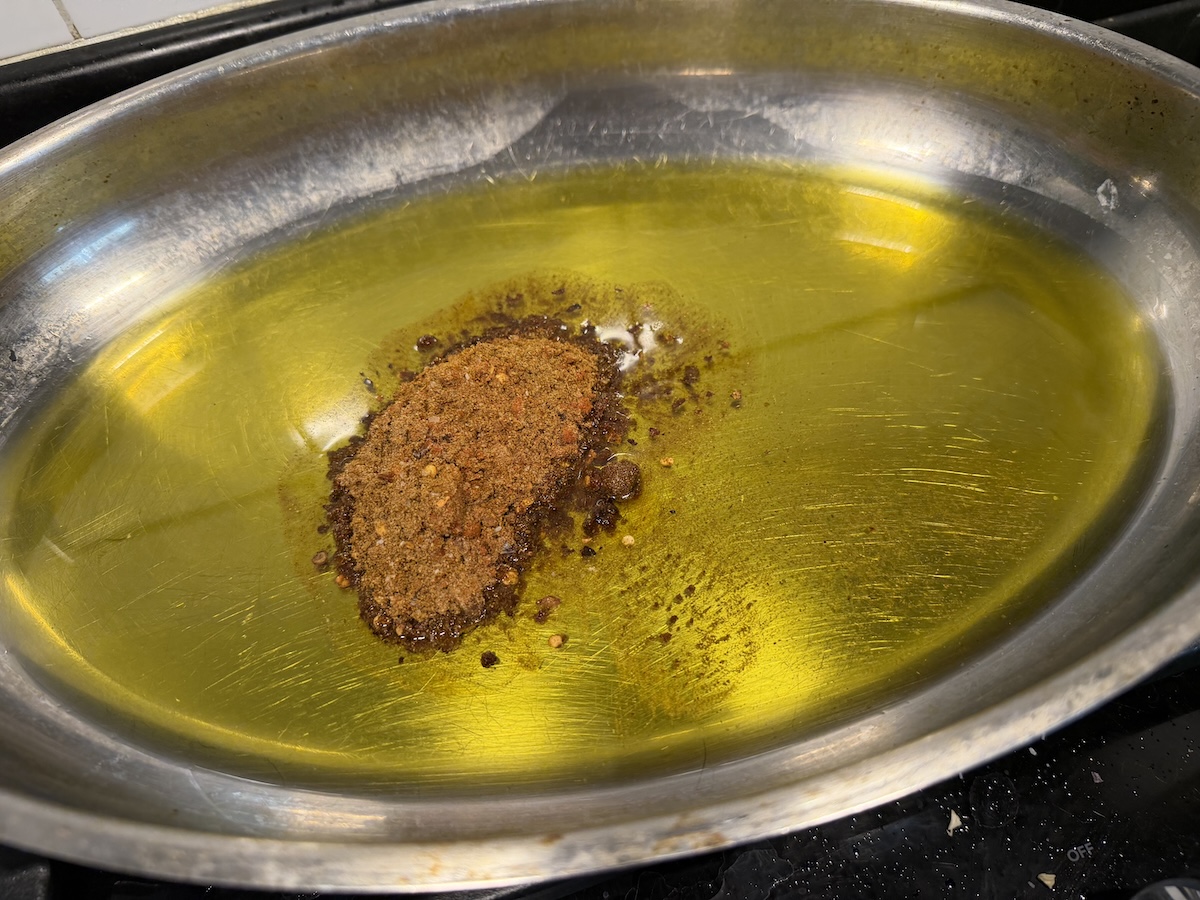
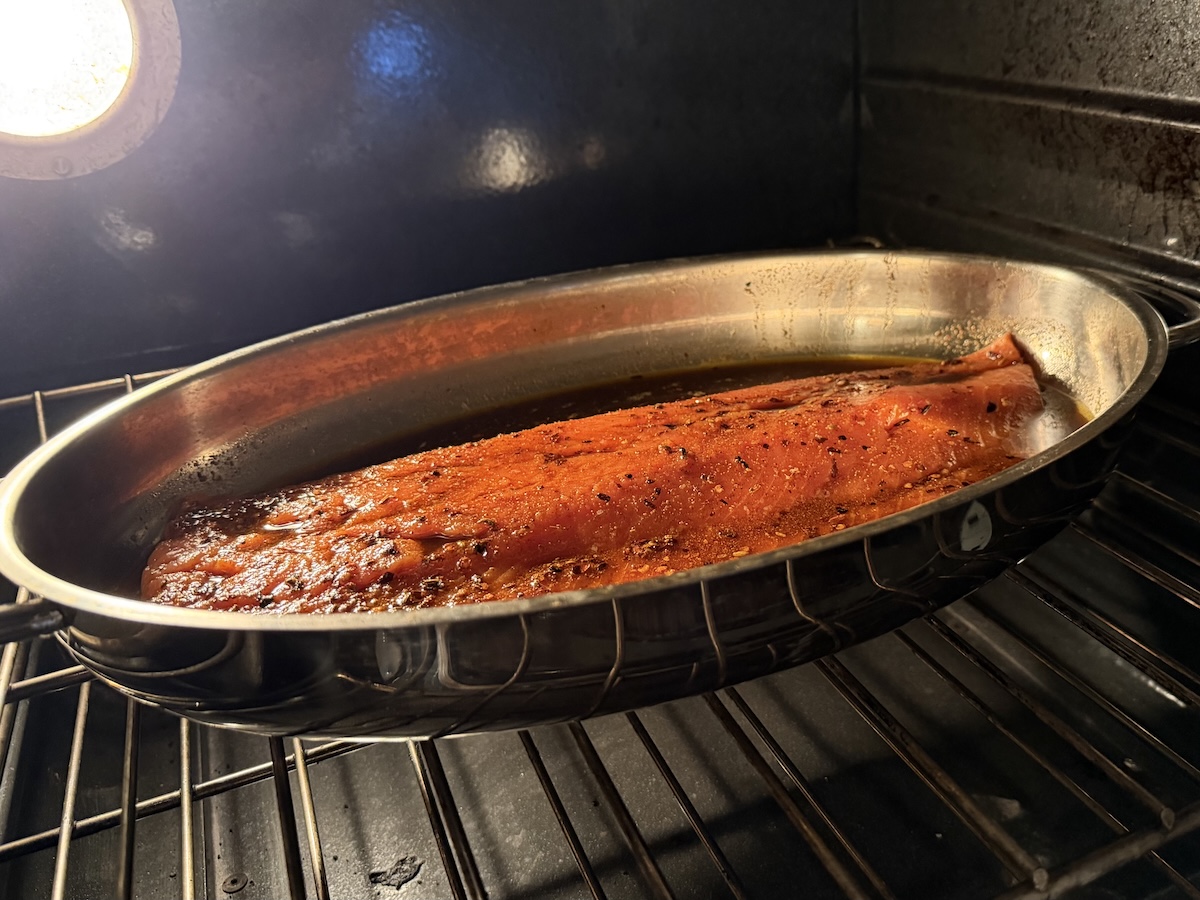
The rest of the menu came together on Saturday. For the main course, spices including red pepper flakes, smoked paprika, toasted and ground coriander, and fennel seeds were simmered in olive oil for 30 minutes; that mixture melded for four hours, then I slow-cooked a coho salmon at 300 Fahrenheit for 20 minutes in the oil.
Olive oil and spices mingled for four hours. (Brockhaus Images)
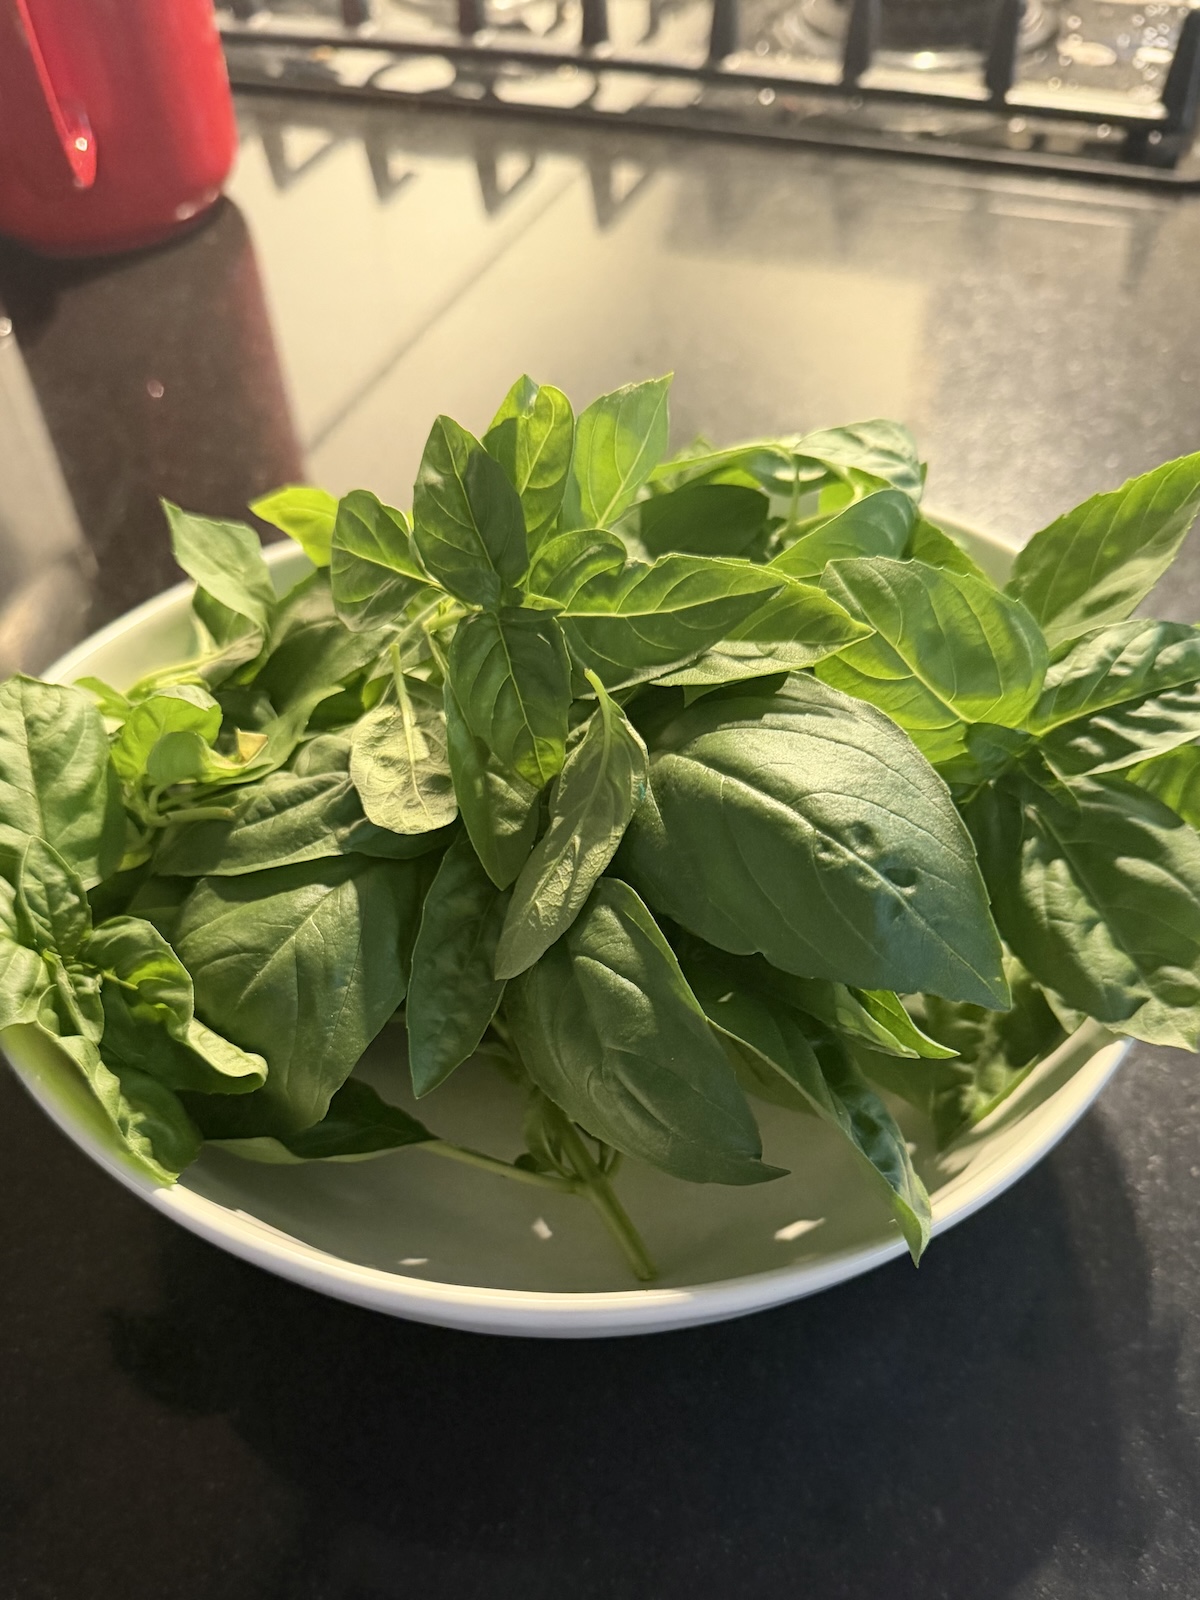
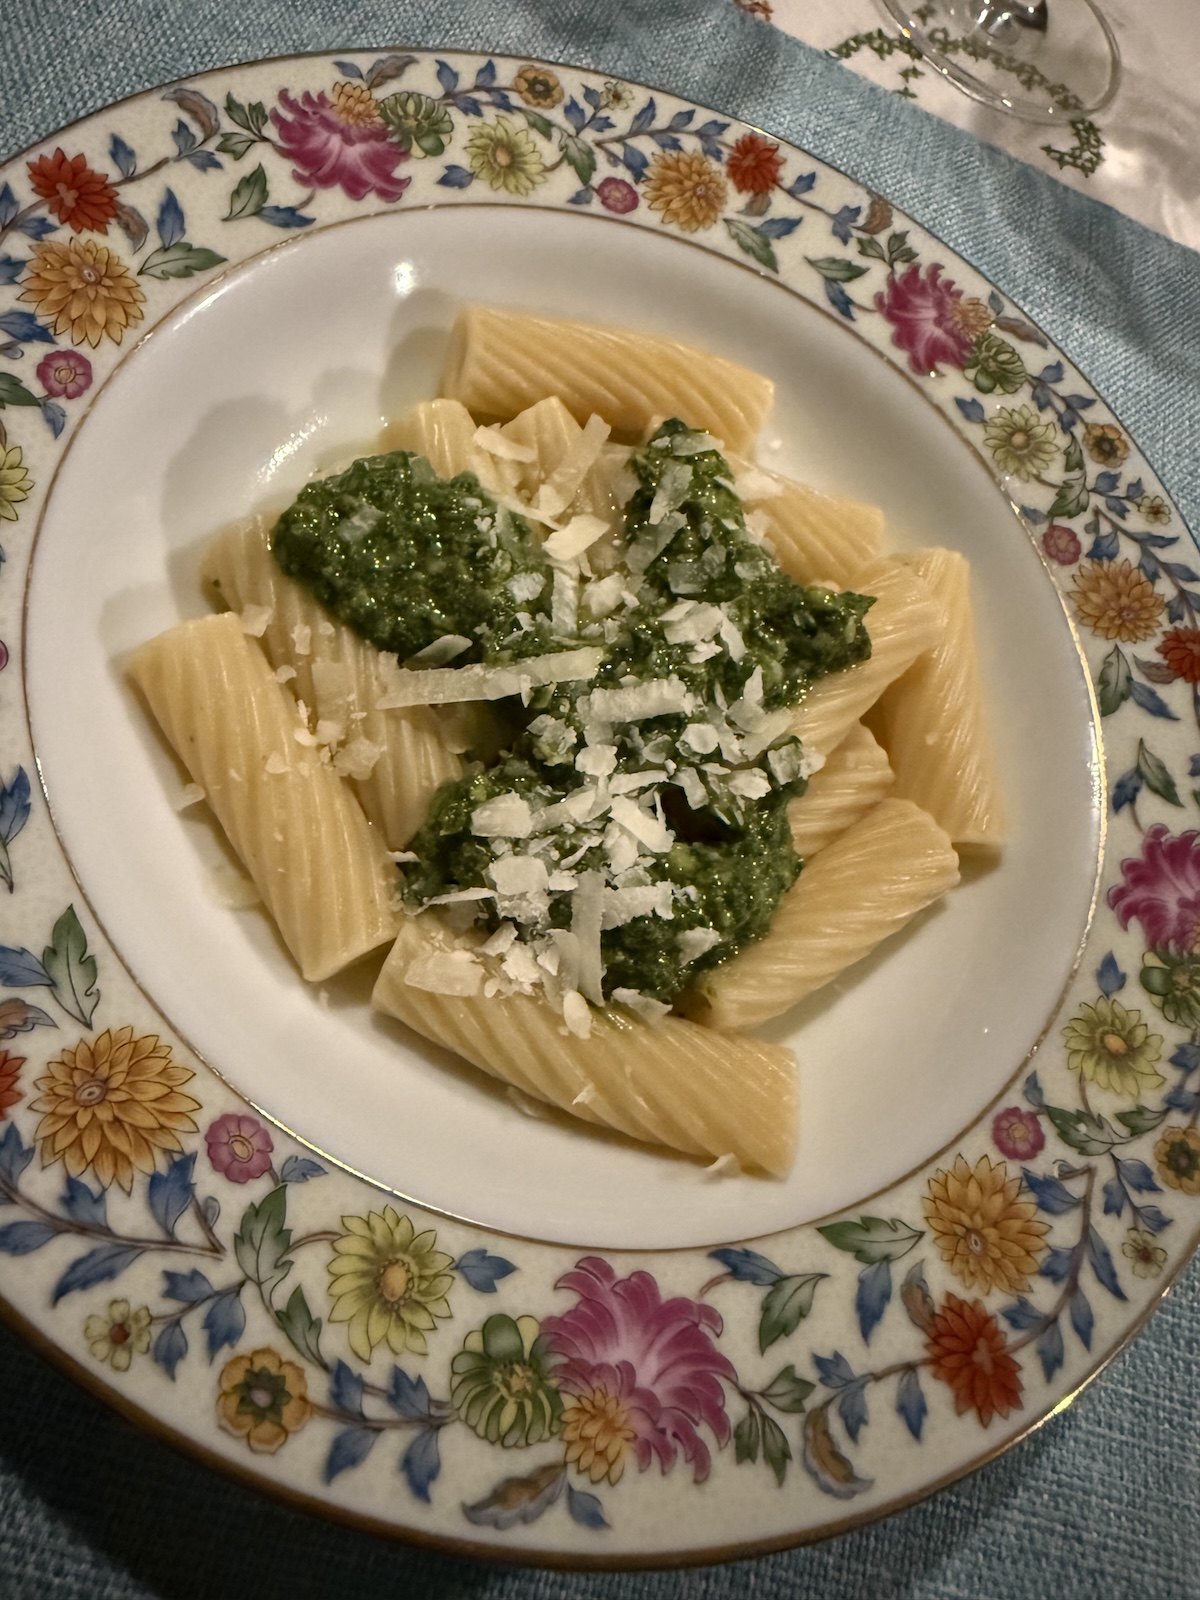
We opened with the gazpacho, then I served rigatoni with basil pesto; the leaves had been harvested that afternoon from our balcony garden.
This basil could be no fresher. (Brockhaus Images)
Pasta and basil pesto: I could eat this on a daily basis. (Bethany Burke)
Gazpacho opened the meal. (Bethany Burke)
Katherine Jarvis brought a 2014 Pur Sang from Domaine Dagueneau. (Brockhaus Images)
I cooked the salmon at 300 Fahrenheit for about 20 minutes. (Brockhaus Images) Shannon Windham, a great cook, is never an unwanted guest. (Bethany Burke)
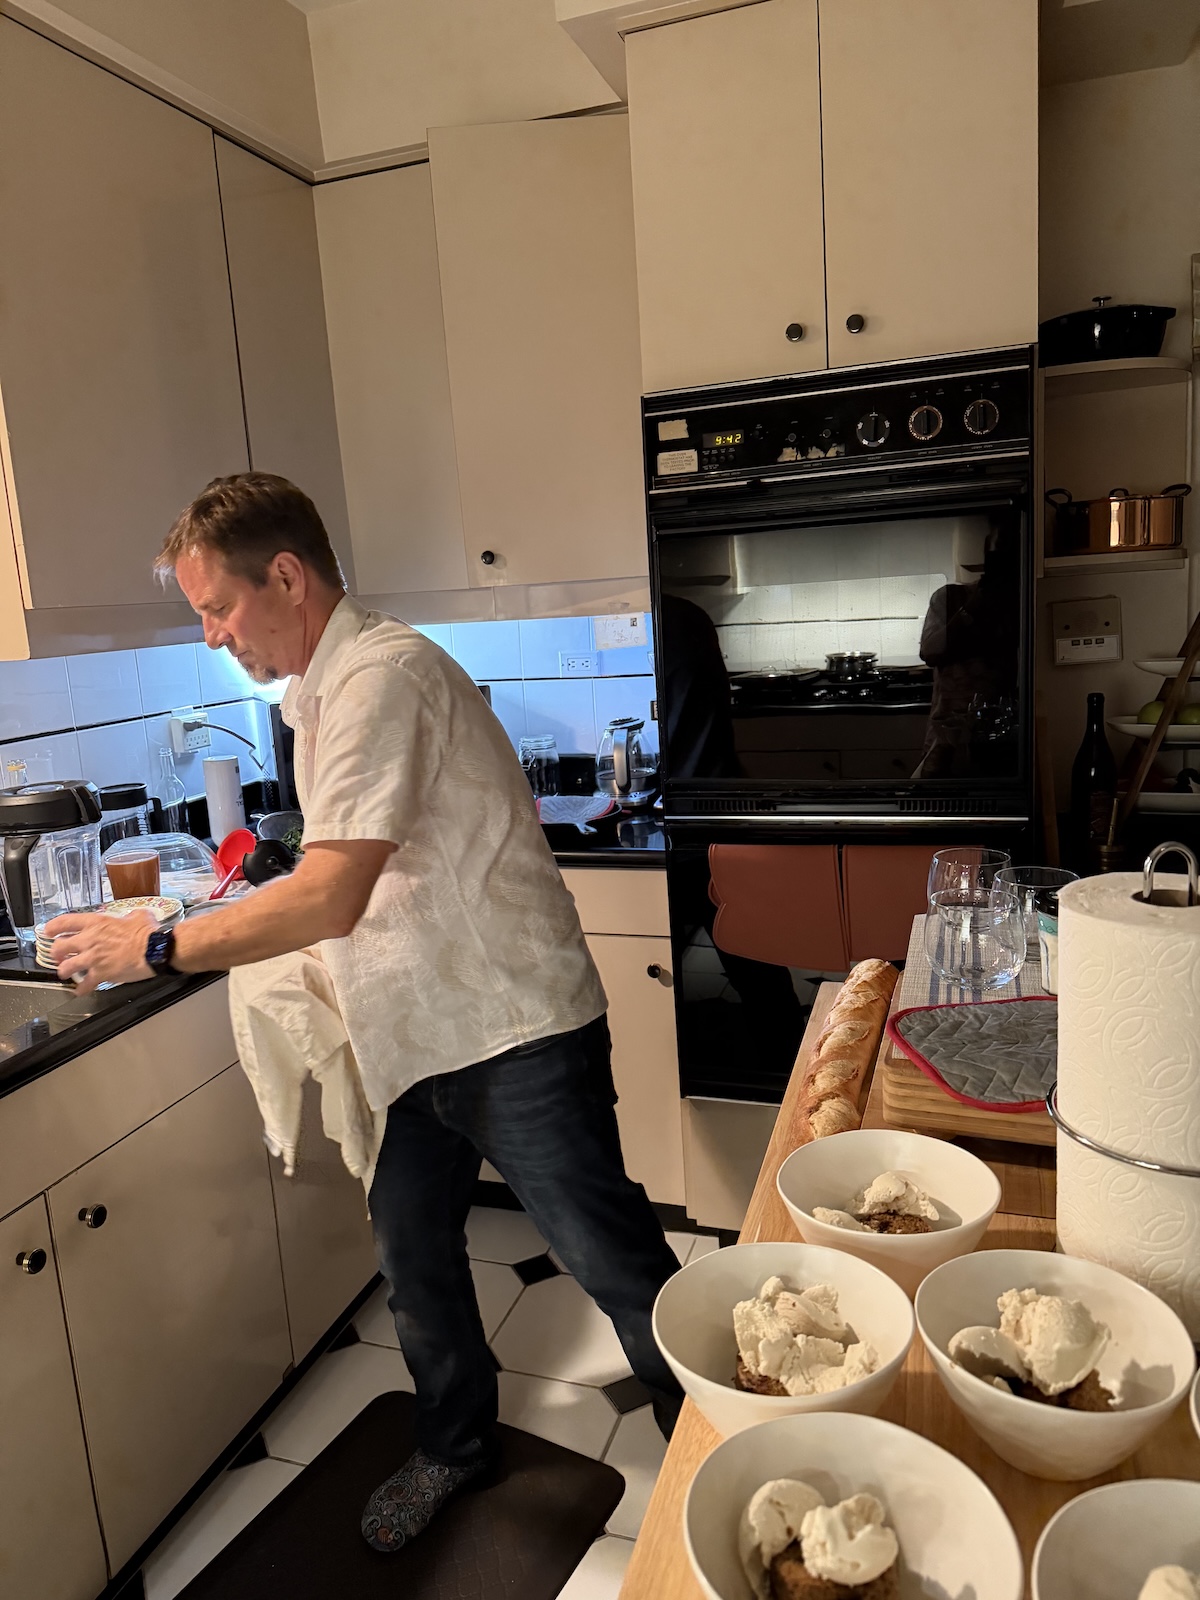
Shannon at work. (Brockhaus Images)
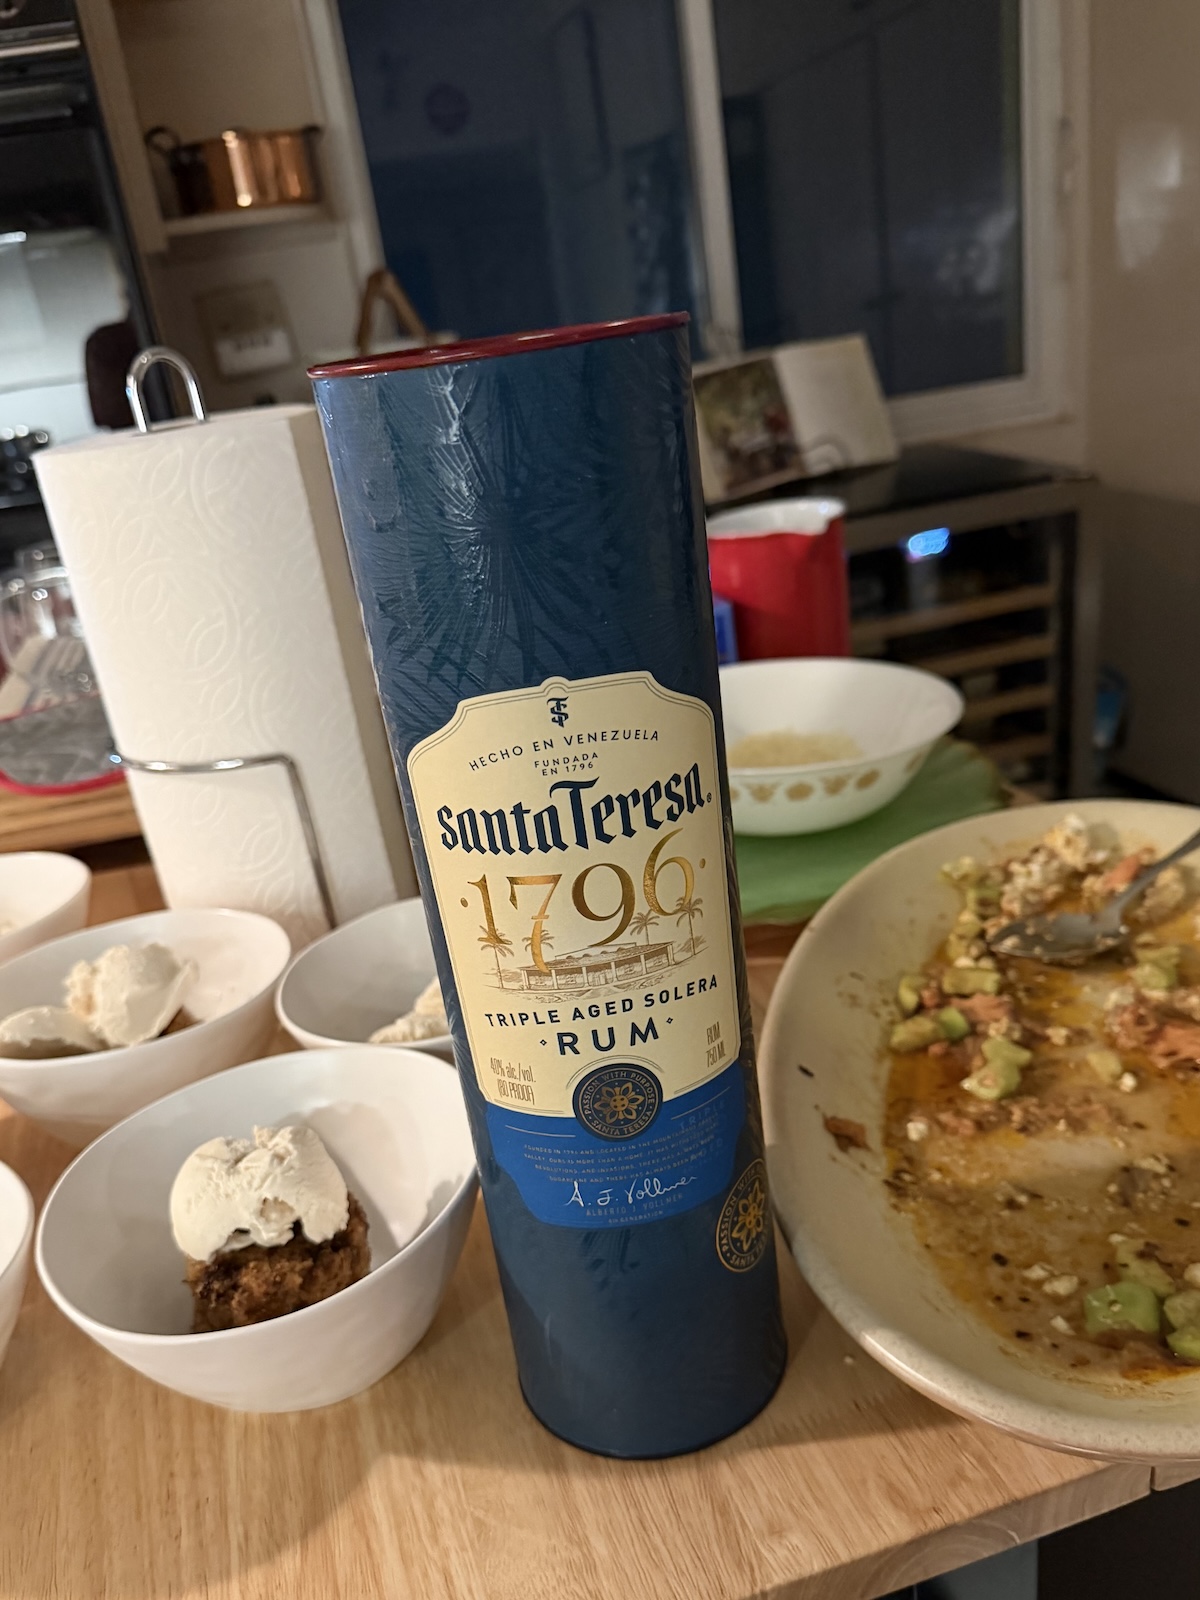
A few of the bottles we shared. (Brockhaus Images)
They gathered around a table … (Brockhaus Images)
There are few things in life I love and appreciate more than cooking and sharing my food with others, especially friends and family. It is love’s labor, a work and passion for which I live. I hope on this holiday that whatever you cook is delicious, and that you are able to share it with people you love.
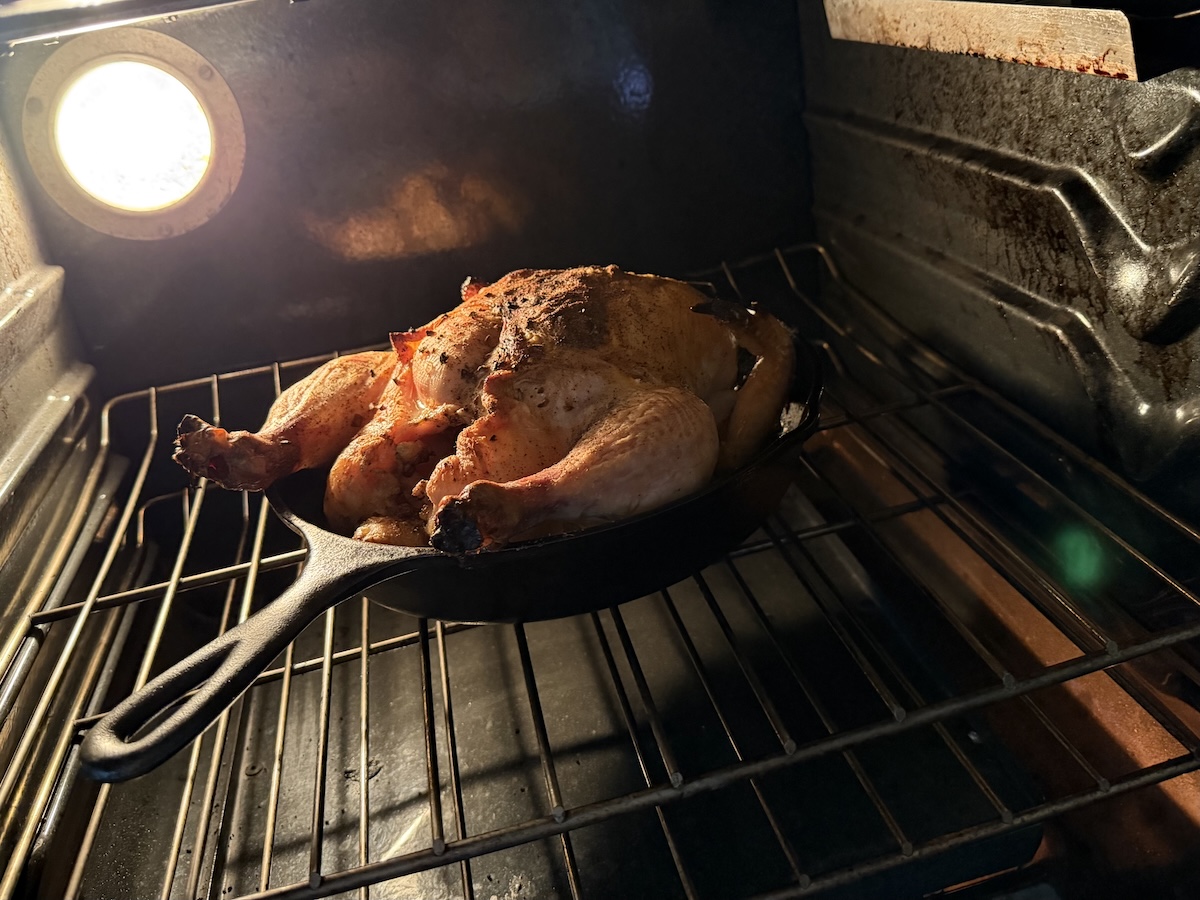
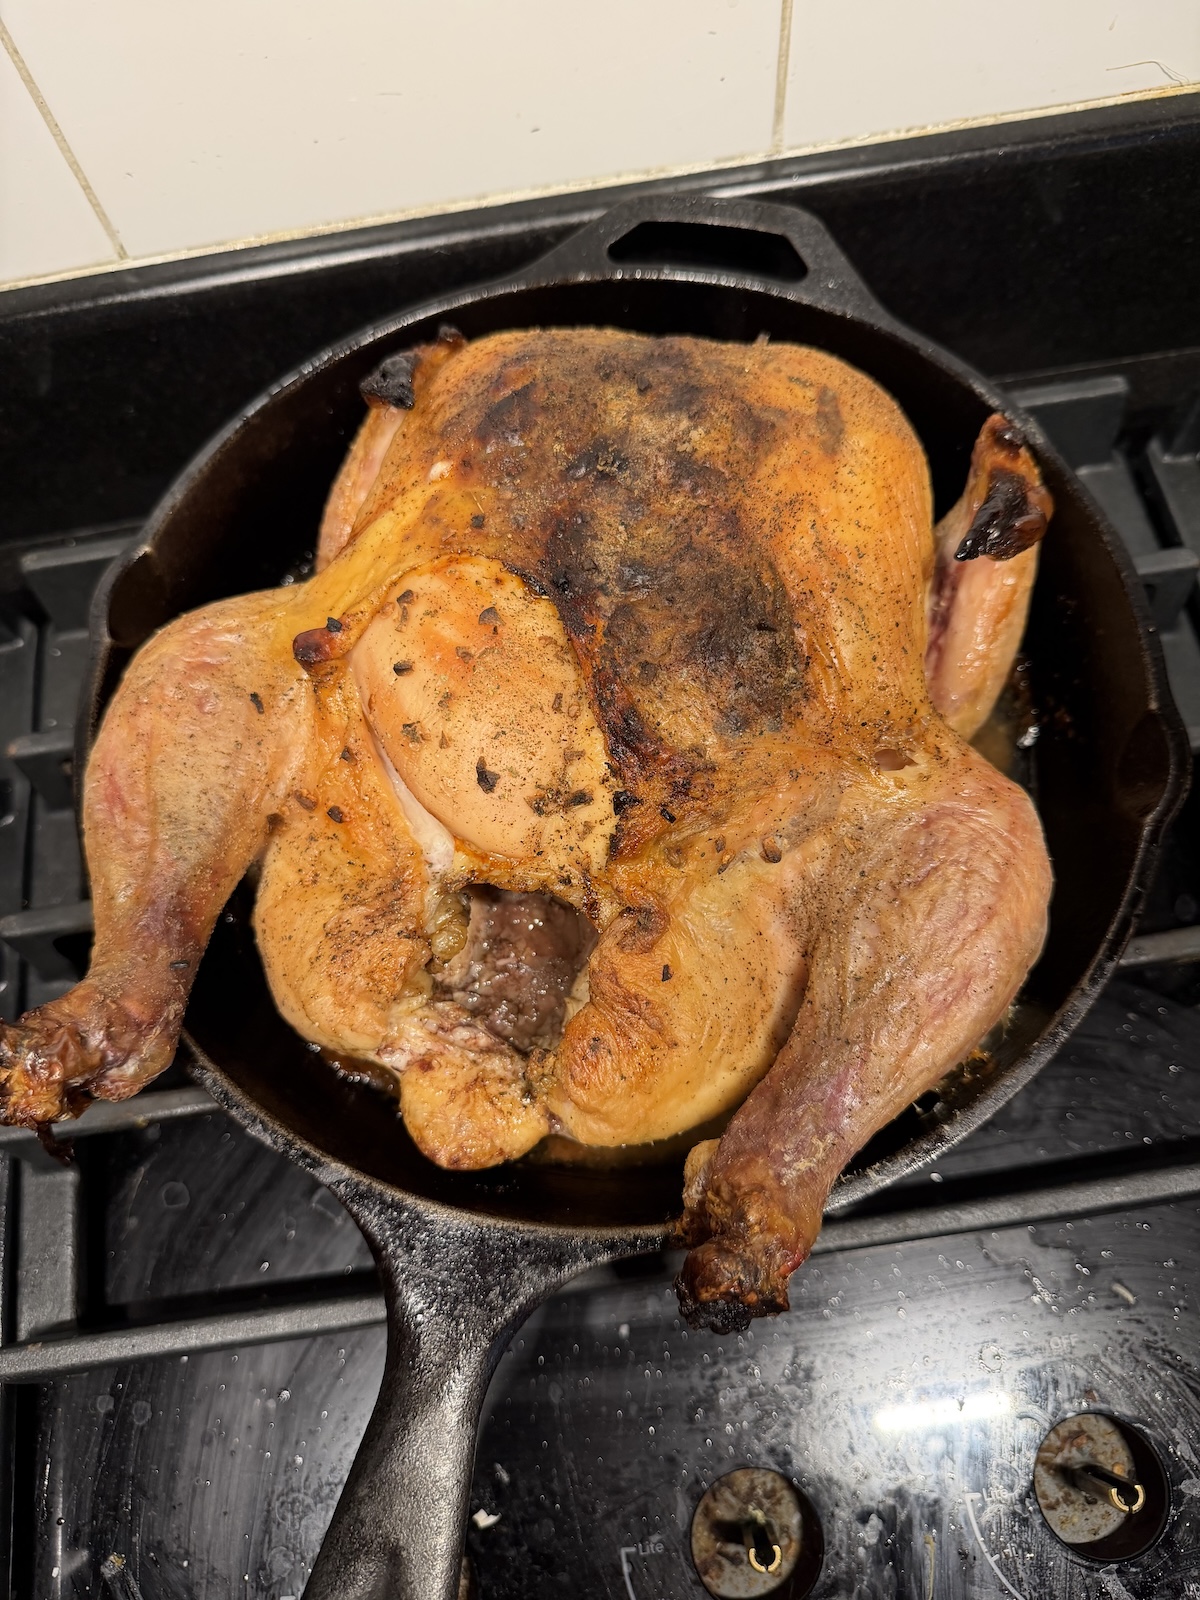
The weekend is here, and a roast chicken is part of it. On Wednesday morning I liberally sprinkled salt and pepper on a chicken, stuffed some thyme and garlic under its skin, and put it in the refrigerator, uncovered. It would stay there, brining, for about 40 hours.
Some of you might have, upon reading the above, thought of Judy Rodgers. Yes, I based my prep method on her beloved recipe, which you can find in one of my favorite collections of recipes, “The Zuni Café Cookbook.” I was not to make the bread salad this time, for various reasons, but if you have never enjoyed this dish I urge you to try it — either make it yourself, or get a table at the San Francisco restaurant.
A perfect way to roast a chicken. (Brockhaus Images)
What I had in mind for my chicken was to enjoy it over a few days and meals, the first one being a dinner of roast chicken, baked spaghetti squash, and a beet and chèvre salad. On the next day I would boil potatoes I had sliced, then add some green beans to the water for about three minutes at the end of the process. I also sautéed green bell peppers. I put all of the warm vegetables into a large bowl and covered it loosely while I pulled the leftover chicken into suitably sized pieces.
To the warm vegetables I added salt, black pepper, some red wine vinegar, thinly sliced shallots, and olive oil. Finally, the chicken went in. That mixture was gently tossed, then tasted for seasoning. More salt. Plated it in a bowl, and topped with a few dollops of chèvre. Comforting, wonderful acid from the vinegar, crisp beans, and melting-sensation potatoes.
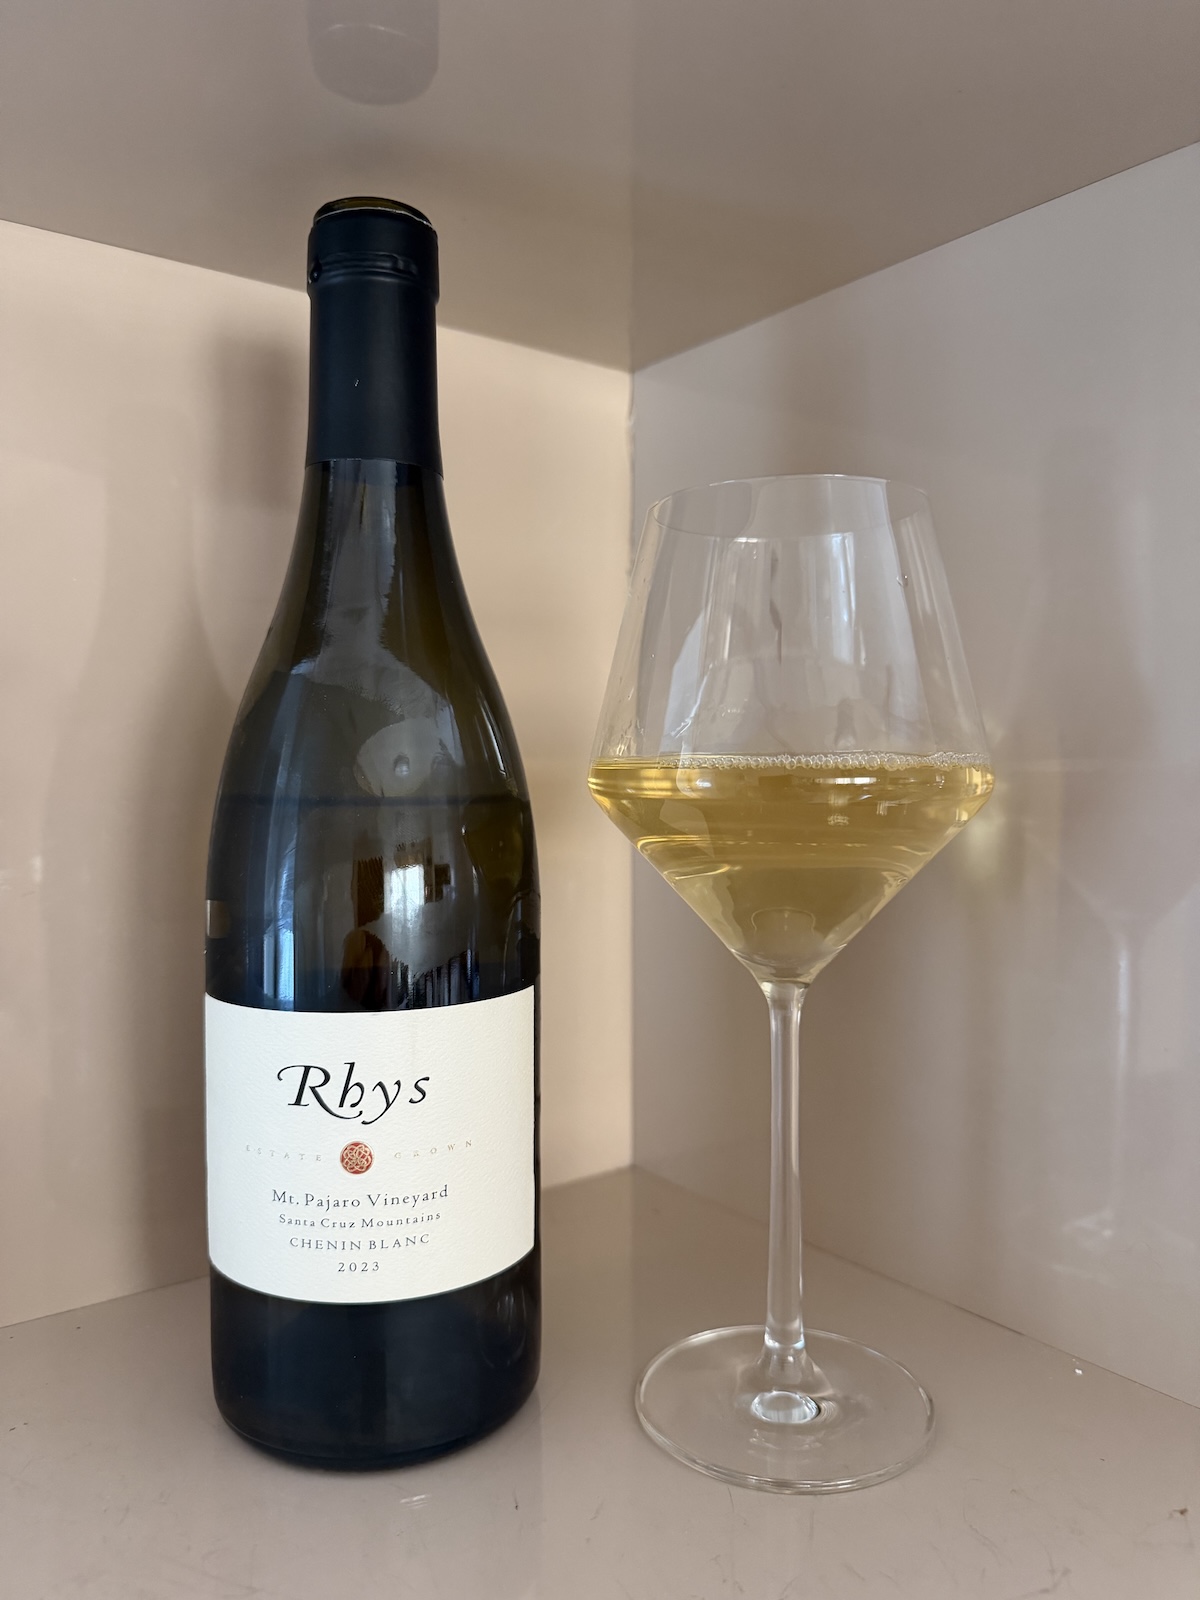
A light-golden hue in the glass: The 2023 Rhys Vineyards Mt. Pajaro Chenin Blanc has a lot going for it. (Brockhaus Images)
To the bottle of wine, which I paired with both dishes. It was a chenin blanc, from Rhys Vineyards, the 2023 to be exact, fruit from Mt. Pajaro Vineyard. This is a stellar example of domestic chenin blanc, full of gravelly minerality and ocean influence — Mt. Pajaro, about 8 miles from the Monterey Bay, is Rhys’ sole vineyard in the southern region of the Santa Cruz Mountains, and the soil profile of the 18-acre vineyard has had a profound effect on this wine. Brown and black shale and sandstone, plus shallow topsoil, have produced concentrated fruit and a wine with thrilling tension. The vineyard lies between 717 and 980 feet above sea level.
I am working on a longer, more in-depth piece on Rhys, because these wines are impressing me and they deserve attention.
The wine spent 12 months in oak — 100 percent neutral barrels — and six months in stainless steel; whole cluster was used. The clone here is 982, and Rhys farms .94 acres of chenin blanc in the vineyard, which is mainly planted to pinot noir and chardonnay. On the palate, I appreciated the combination of wet stone and paraffin, along with lemon and pear. You can find this wine for around $60, and I’d love to taste this vintage five years from now.
Mt. Pajaro Vineyard was planted by Rhys in 2014 and 2015. (Rhys Vineyards)
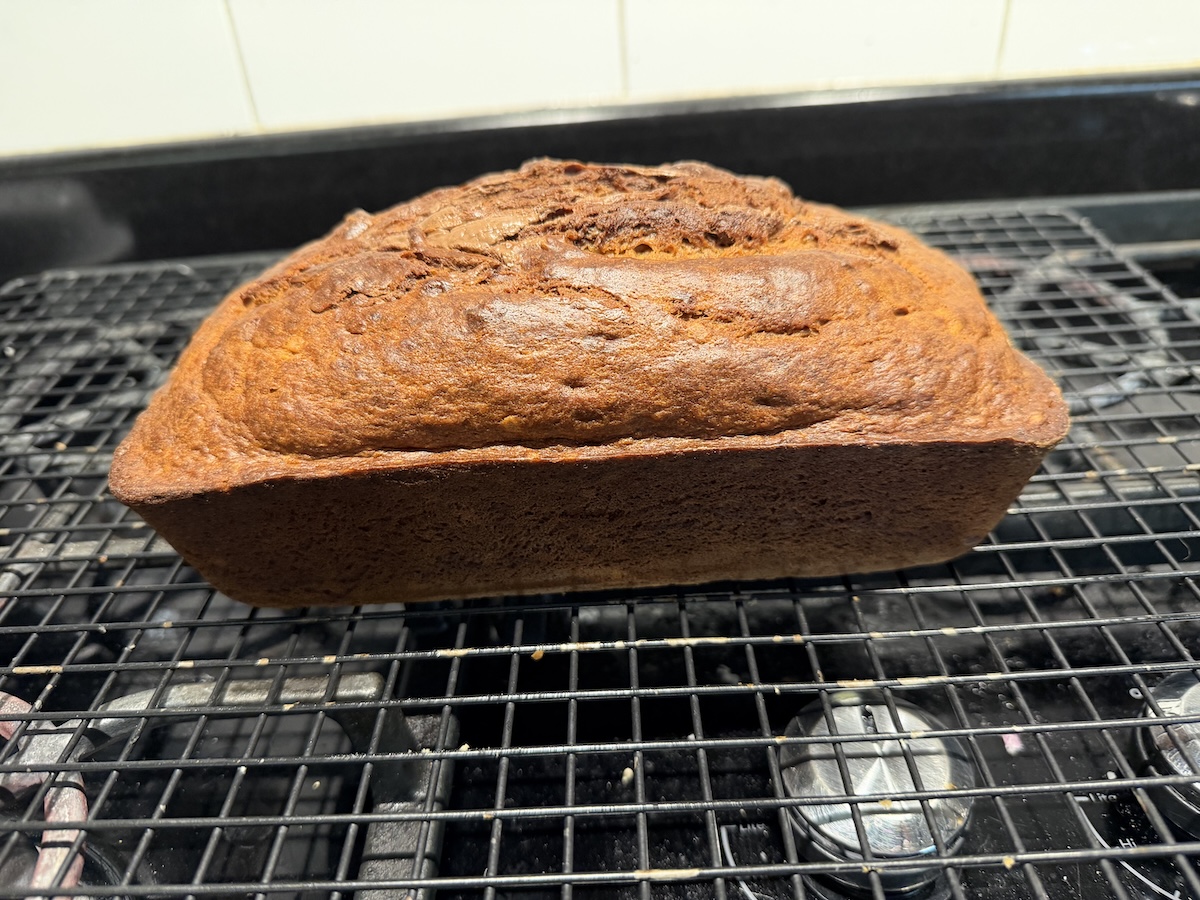
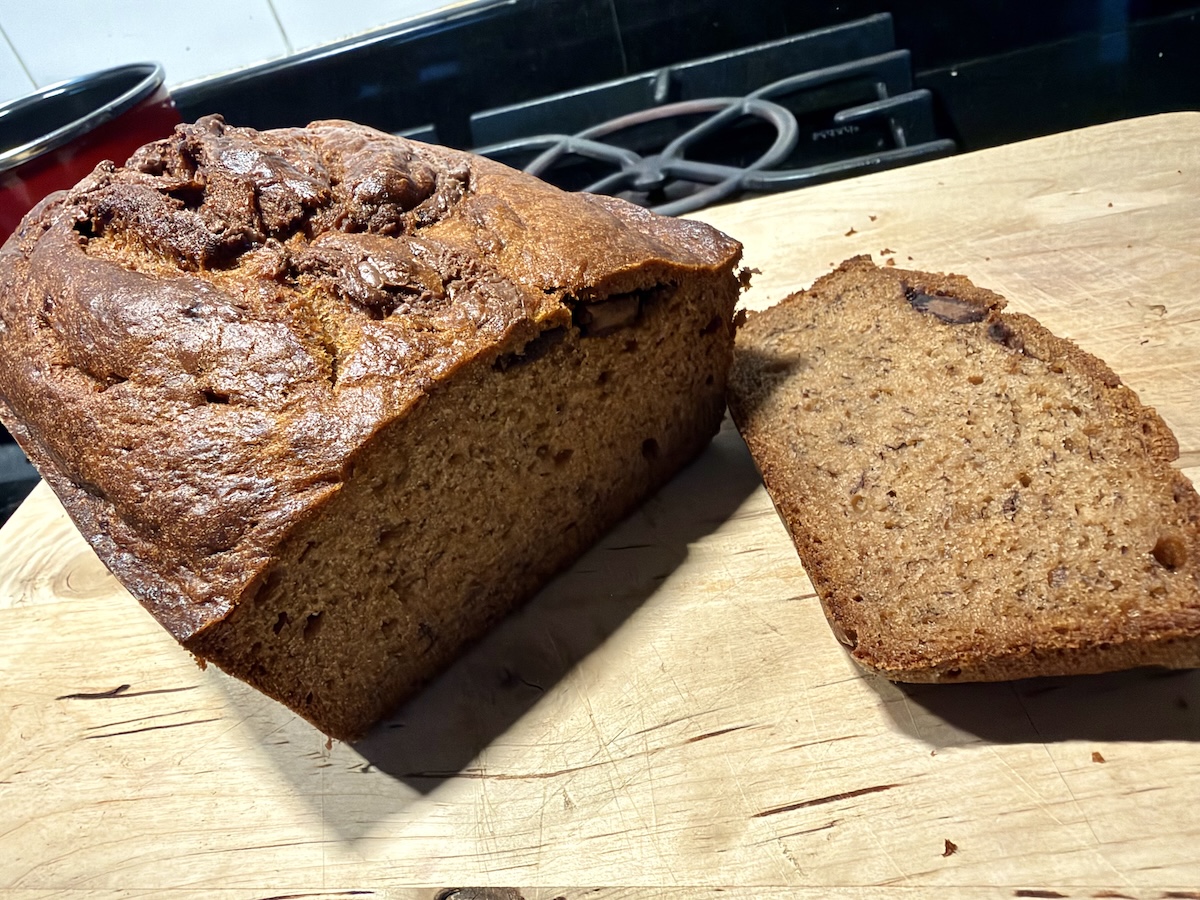
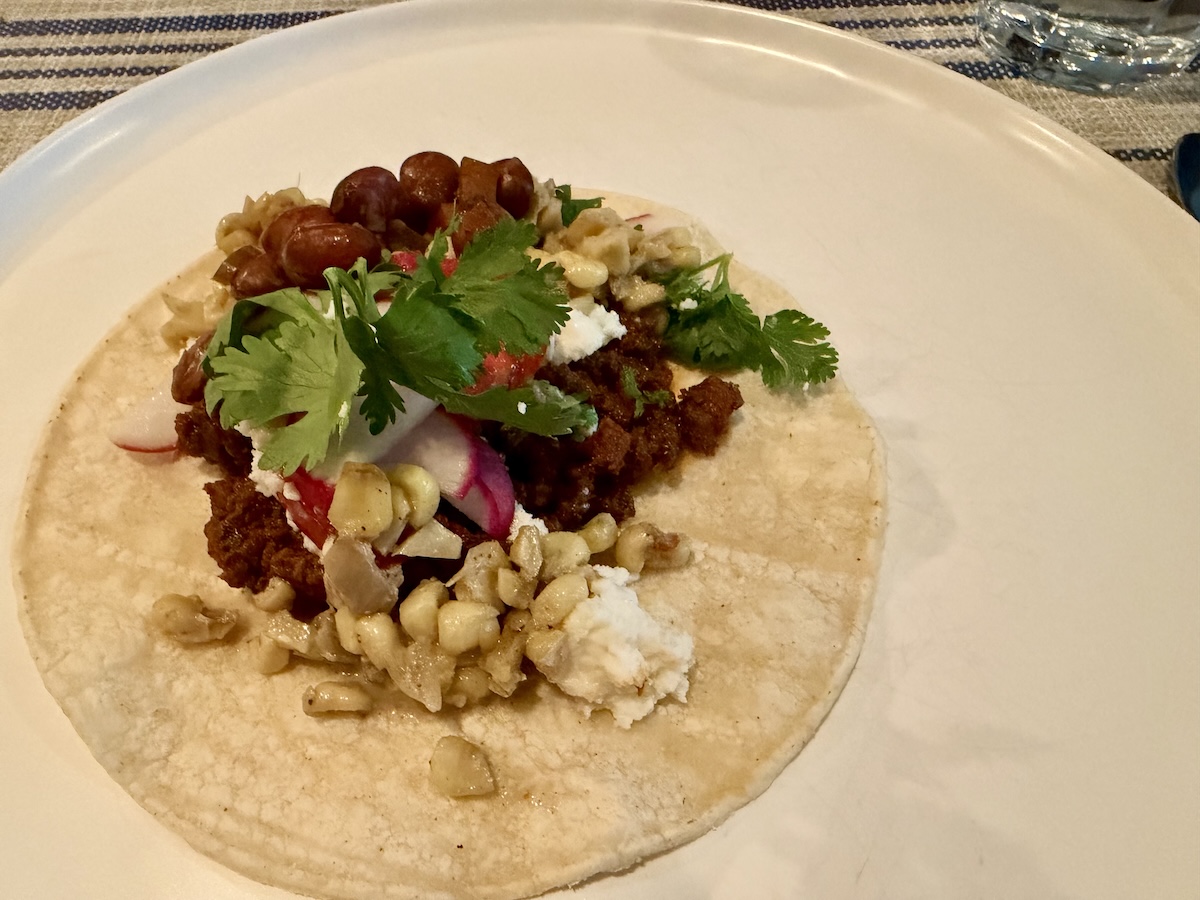
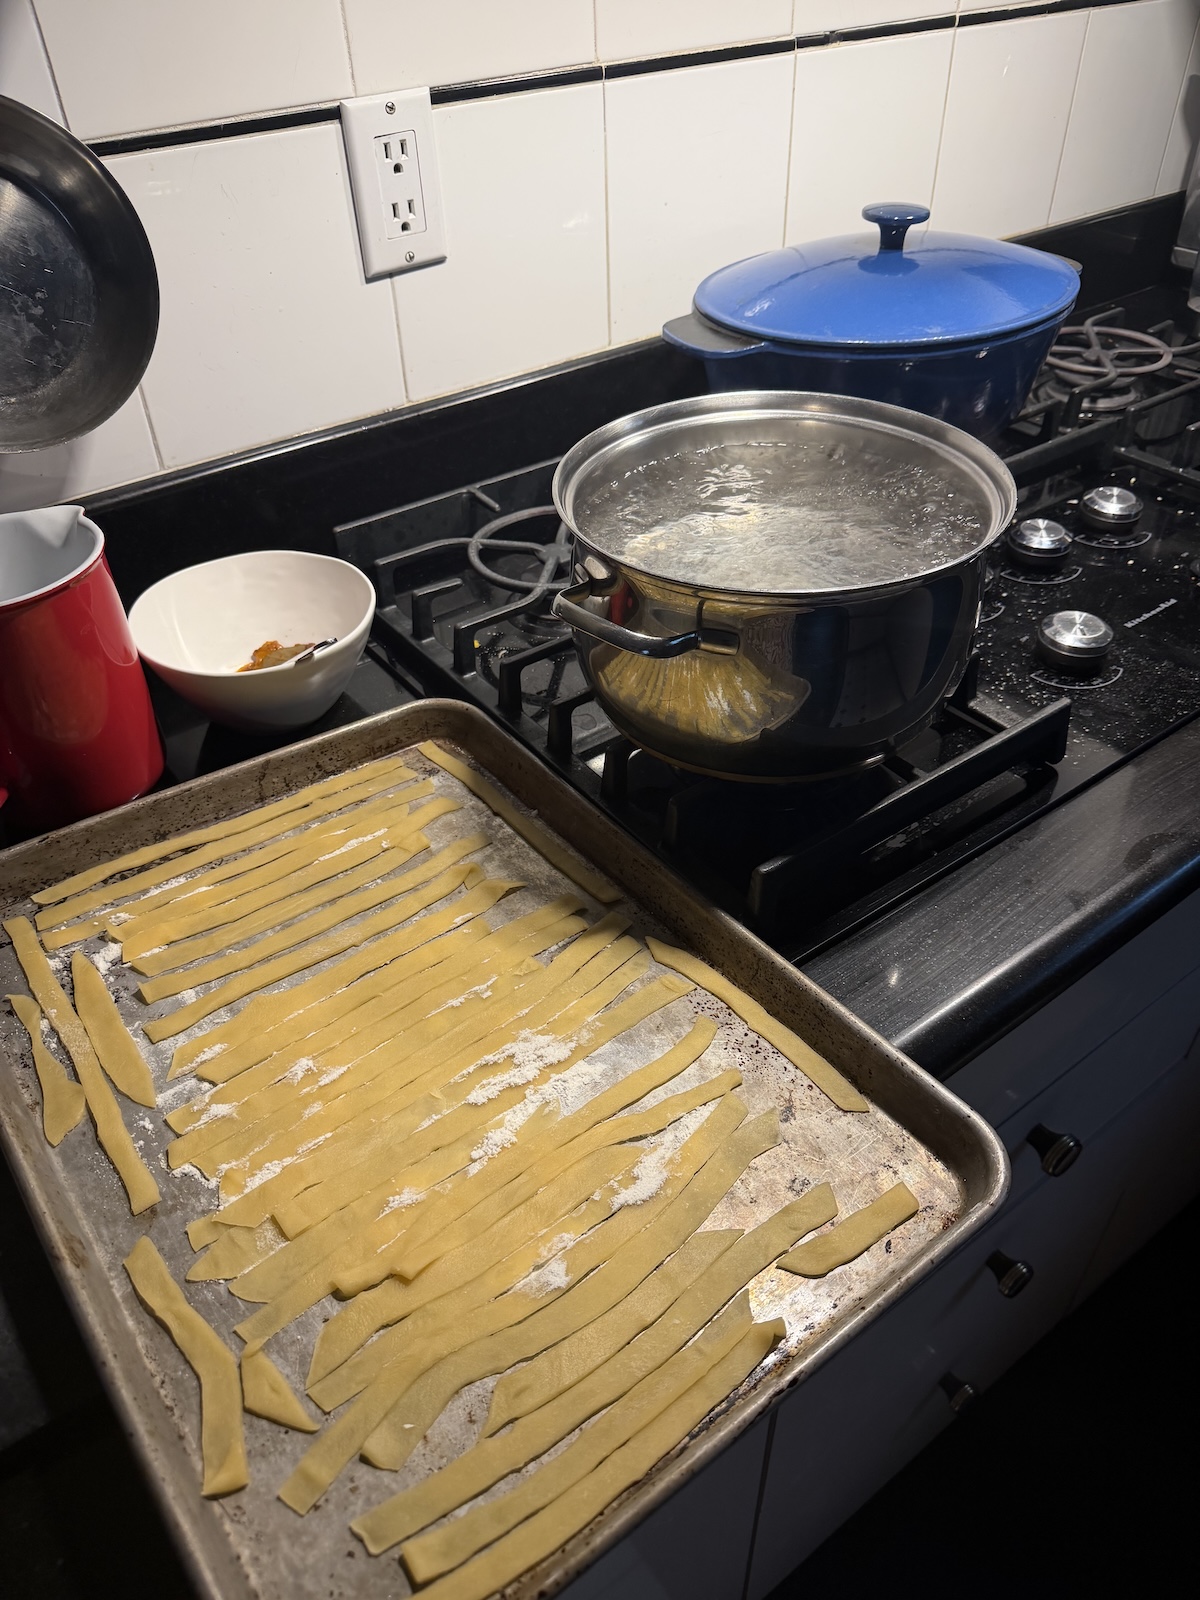
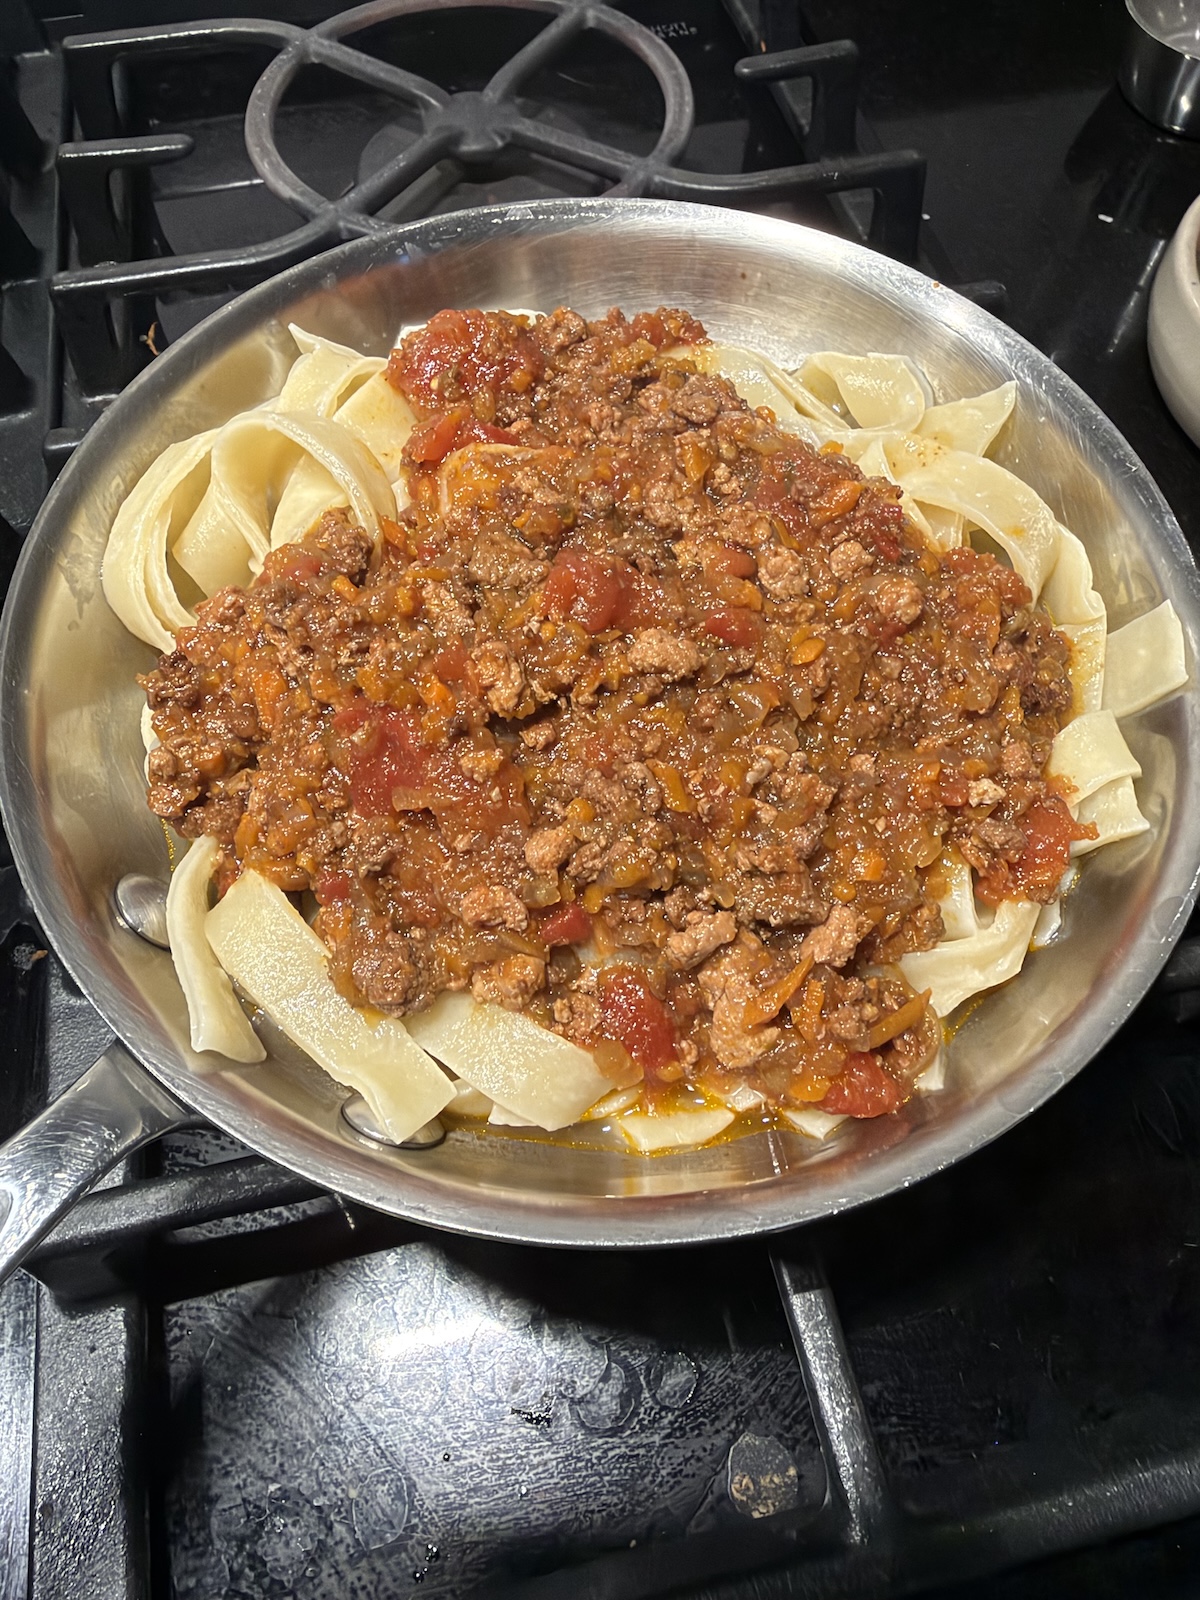
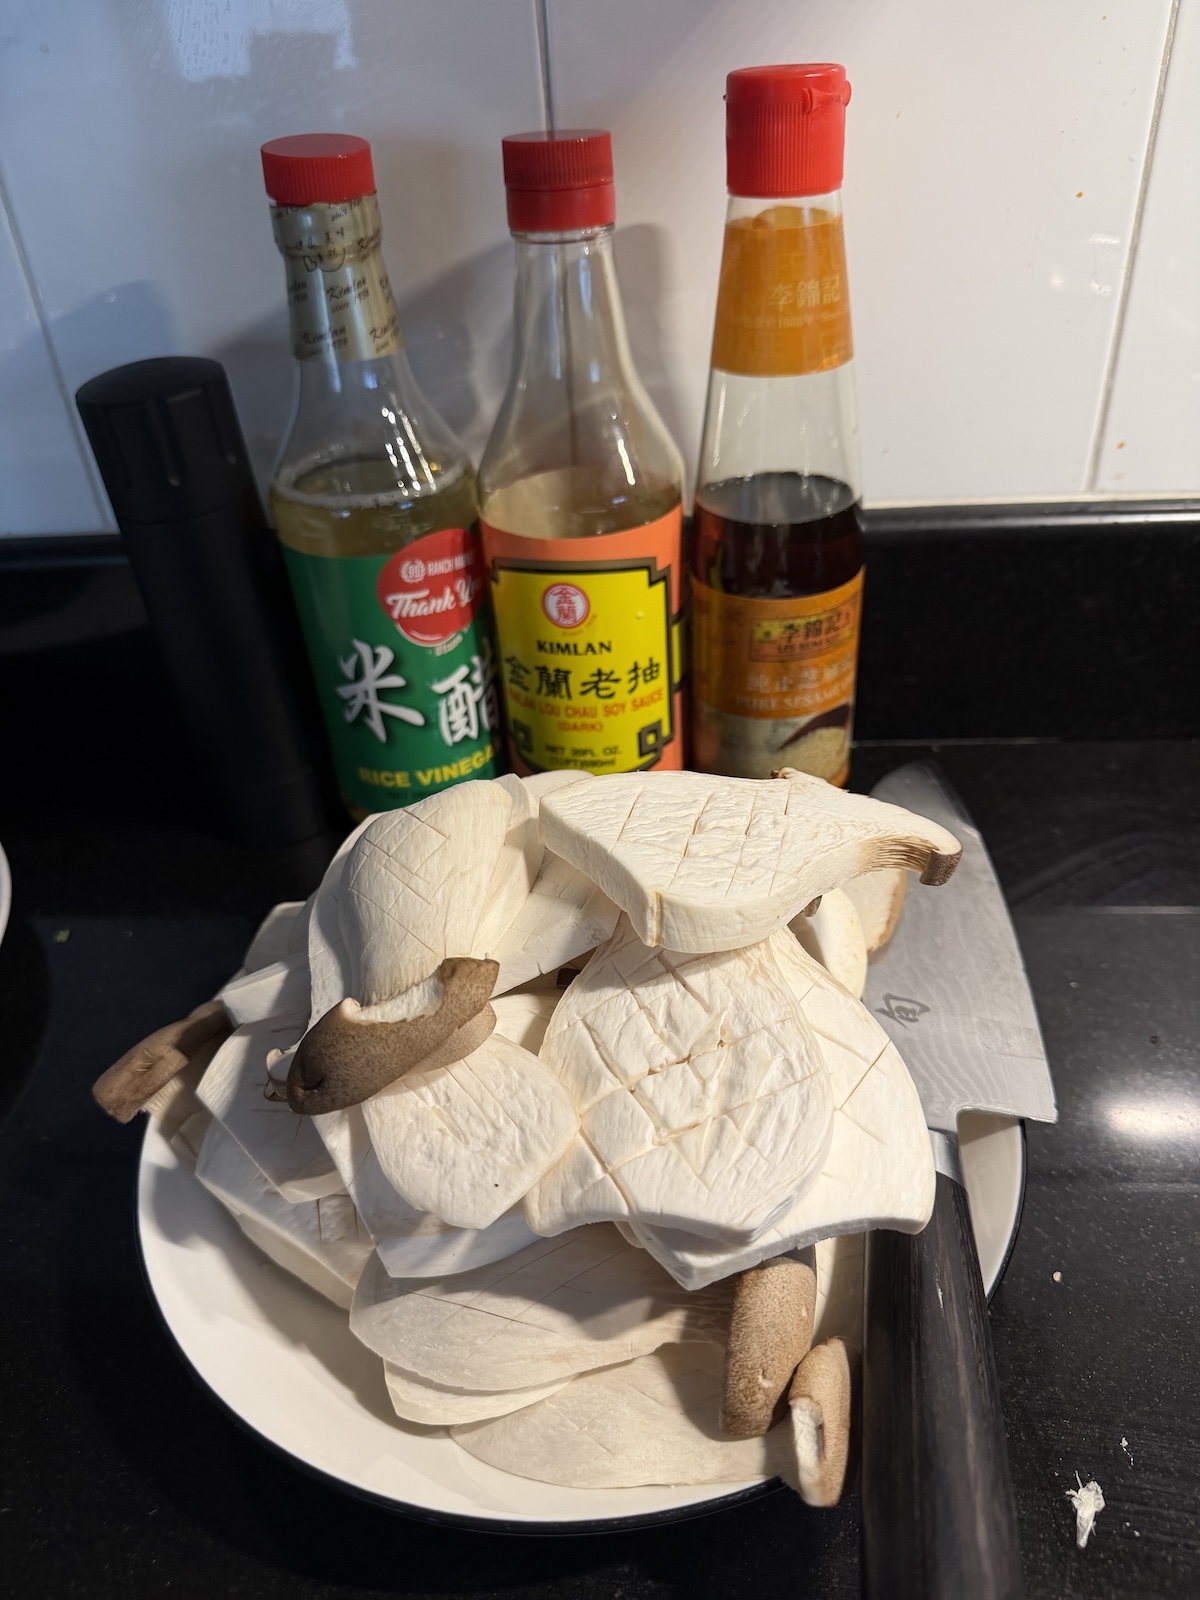
Here’s a look at a few other things I have cooked lately, including a banana bread into which I swirled a mixture of chocolate and peanut butter; picadillo tacos; two-egg pasta with a long-simmered Bolognese made of beef and pork; and king oyster mushrooms.
A bread made with five overripe bananas, sour cream, and a few eggs. (Brockhaus Images)
A touch of chocolate and peanut butter … (Brockhaus Images)
Sautéed corn, radish, Good Mother Stallard beans, and queso fresco are all here. (Brockhaus Images)
Flour, egg, and olive oil: pasta of irregular shape but wonderful texture. (Brockhaus Images)
Beef and pork a good Bolognese make. (Brockhaus Images)
I found these at a local Asian grocer. (Brockhaus Images)
Score the mushrooms and the sauce permeates them in grand manner. (Brockhaus Images)
I recently became a Rancho Gordo Bean Club member, and the day I received the note admitting me to the institution was a good one. My initial shipment arrived shortly thereafter, and the selection pleased me.
A fine roster of beans.
The first bag I opened and cooked.
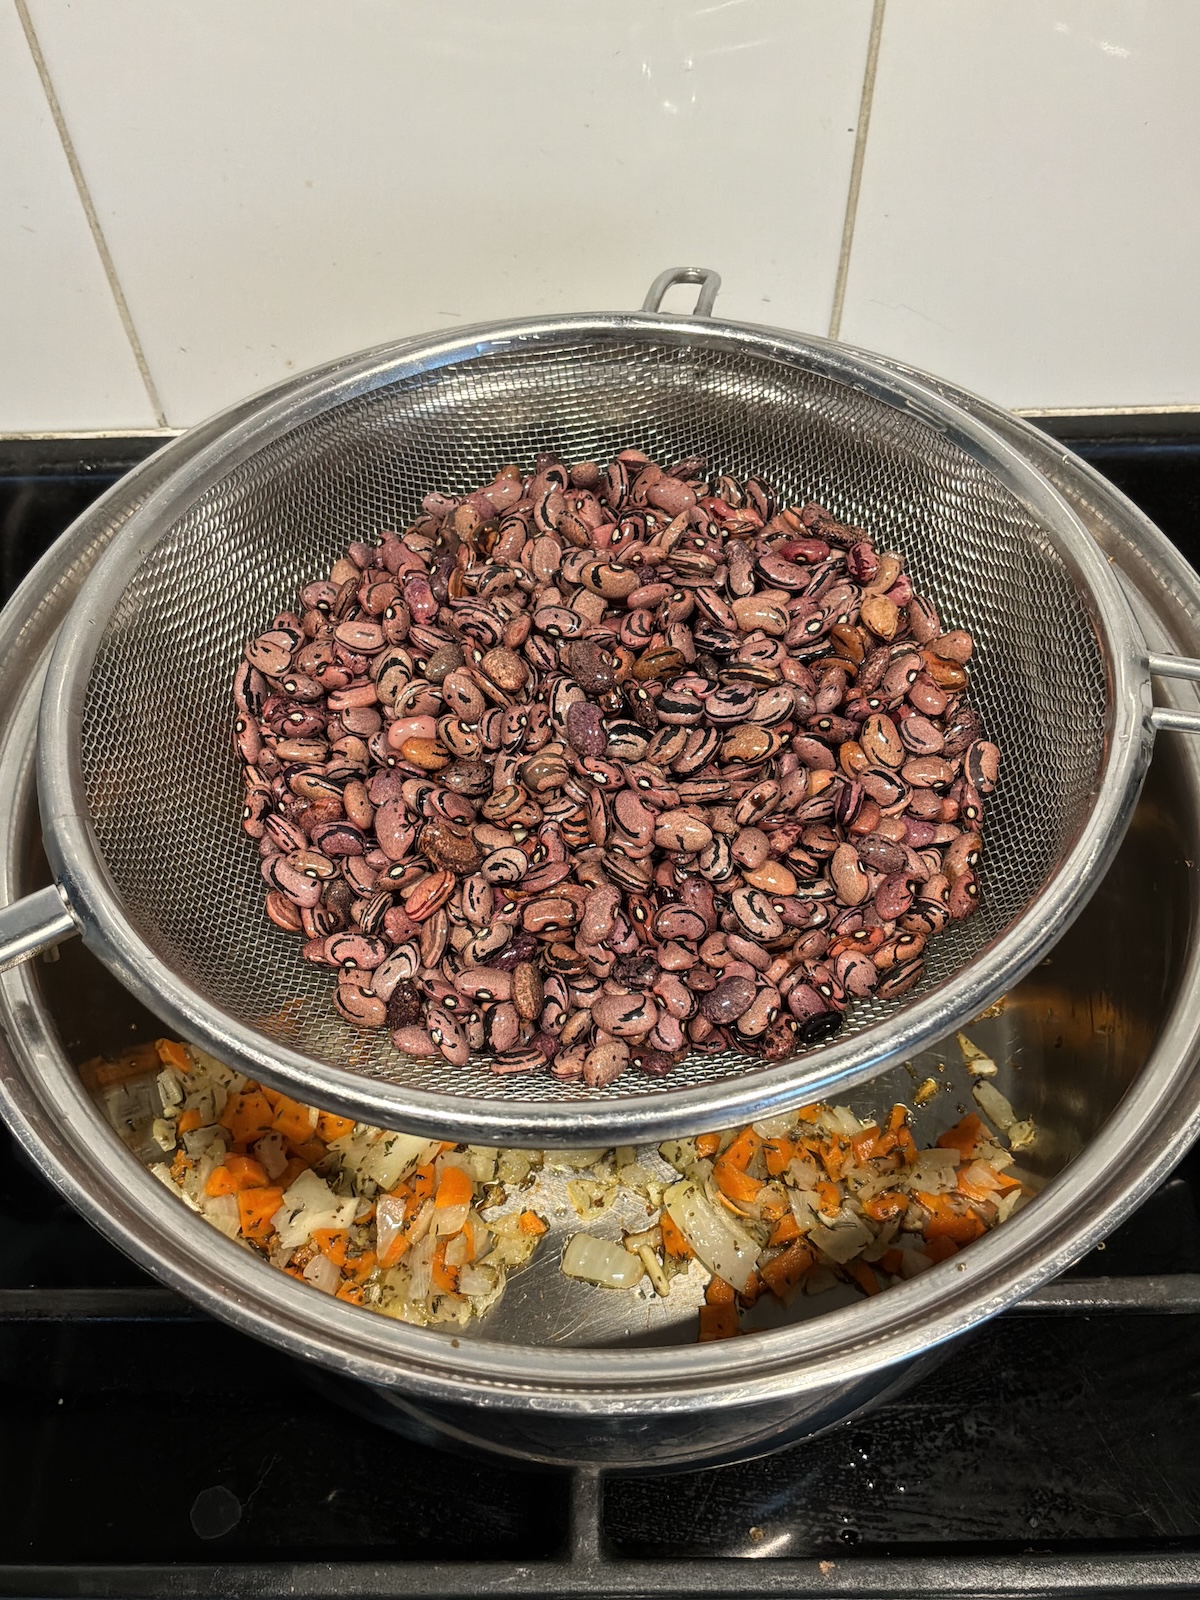
I chose to open the bag of San Franciscano first; I had never cooked with this bean, and was curious about its flavor, consistency, and utility. It’s a Mexican heirloom bean that hails from Puebla and Hidalgo, its color is beautiful, and it is, as I found, versatile.
Beans sorted and ready to join the fun.
A striped bean — lilac and black — that has a beautiful and complex flavor with nutty notes and a hint of cocoa.
I’ll skip the primer here about prepping beans for cooking, as I am confident most people who cook know about rinsing and sorting. I will, however, state that giving my fresh beans a pre-soak has become a habit, mainly because doing so reduces cooking time. Rinse them in cold water, discard any debris, and soak them for several hours; if you decide to do this overnight, put your soaking beans in the refrigerator. (If, however, you don’t have time for a soak, don’t fret and read on.)
I tend to start the process on a weekend morning and cook the same day. As I wrote, you can skip the soak and simply bring the beans to a hard boil for 15 minutes, then simmer until done. Exceptions to this: larger beans — chickpeas, large lima, gigante, and cannellini, among others, or older beans (more than, say, two years old) — which a pre-soak benefits in several ways, including helping to prevent their skins from breaking during cooking.
I also cooked some baby lima beans that I received from Rancho Gordo in my premiere shipment.
When you are ready to cook your beans, do this: chop a carrot or two, and an onion, and sauté them in a little olive oil in the pot you are using. Celery and garlic are also good in this mix. Add the beans, and water to cover — I follow the 2-inch rule, meaning, 2 inches of water above the beans. Bring to a hard boil for 10 to 15 minutes, then simmer, covered, until done. You can use the lid as a regulator to adjust the simmer. I like a long and slow cook, as I’ve found that allows the broth to fully develop its flavors. No rush.
I sometimes cook a full pound of beans, depending on how I plan to use them, and often cook half a bag. Either way, salt them only after they are done, and use moderation; the beans will gradually soak up the salt, so their flavor will change in stages. You can always add more salt later.
Now you decide how to eat your beans. A good move is to add them to meals throughout the week. Tacos, soups, stews … the options are infinite. The San Franciscanos were excellent served on the side of a turkey burger, and I also used some in a stew I made that included tomatoes and celery.
Cooking relaxes me, helps quiet thoughts about concerns and discordant happenings, things troubling me and over which I hold no control. War, corruption, venality on the part of FIFA’s leadership, aging parents, the DOJ’s cruise to sycophancy and criminality. On the day I first opened the San Franciscano beans I began a sourdough starter and baked a few loaves of bread.
Bread and beans …
A tomato tart has been on the recent menu as well, along with some quail, the latter served with roasted peppers.
A tart of tomatoes, chèvre, and asparagus.
I brush some olive oil on the whole peppers and cook them on high heat in a grill ; cover them with a lid or foil while they cook.
Bell peppers on their way to a roasted and smoked condition.
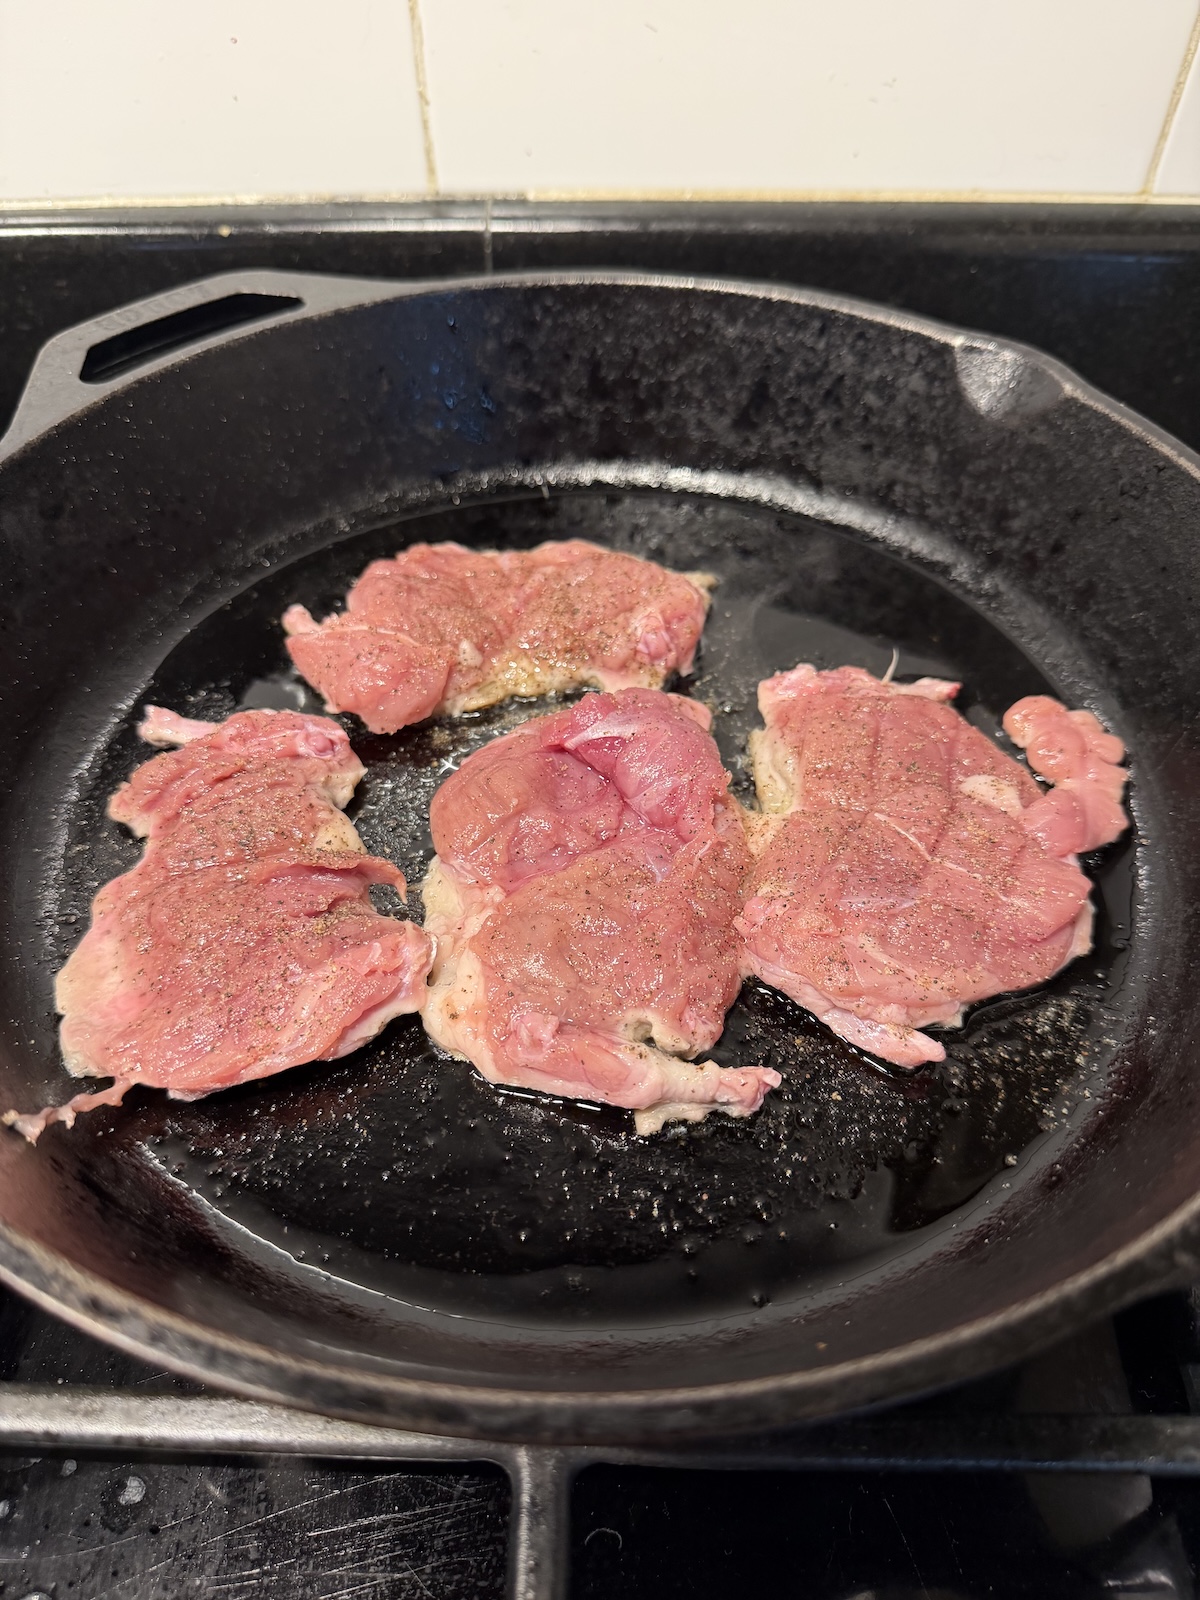
Quail cooking skin-side down.
These peppers paired well with the quail I cooked.
One night, not so long ago, I decided to make a curry dish. It would be piquant, it would be made with cream and fresh chili peppers, and it would include tofu, which I planned to sear in a pan until it was well browned. I’d garnish it with basil, basil grown on our balcony in West Los Angeles.
When I cook, I always, as part of the process, which includes the actual serving and eating of the food, think about the wine (or wines) I would like to drink with the dishes.
“Pairings” is a word one sees often in culinary milieus, and it’s used with alacrity for good reason: the wines I choose to serve my dinner guests are selected as companions to the cuisine. They might accentuate a certain flavor element or ingredient, or they could serve as a counterpoint to a dish. I love how a juicy, racy red wine tastes with a pepperoni pizza, and some of my best moments have been spent eating oysters while drinking Chablis.
Oysters are never tiring.
Conversely, how about halloumi and a big Gigondas? Or a sparkling rosé and beef short ribs? I have offered these two pairings at dinners, and when guests saw them on the menu they expressed disbelief at the former combination and incredulity at the latter (in the case of a gentleman who was in the habit of drinking nothing but heavy cabernet sauvignons with his beef). Once they put the food and wine in their mouths they conceded.
Taste, and Taste Often
What should you take from all of this? First, the classic food and wine pairings are classics for a reason. Use them as part of your repertoire. Second, don’t be afraid to blur the lines, or surprise your guests (and yourself). Above all, taste. Often. Taste when cooking, taste with intention when pairing food and wine.
Drain and press tofu well before browning and the crisp factor will stun you.
Tofu and rice in this dish.
To that curry, and what I drank with it. It was an Eroica Riesling, 2024 vintage, an off-dry wine produced from a joint venture between Dr. Loosen and Chateau Ste. Michelle. It’s a low-alcohol (11 percent), vibrant, fresh, and delicious riesling, one that, as I was certain it would, paired well with the tofu curry, which I made by roasting red onions, garlic, and ginger in sunflower oil. I made a spice mixture that included toasted and ground cumin seeds, cardamom, cloves, turmeric, red chili, fenugreek, cinnamon, coriander, and several other components. A highlight for my palate was the play between the wine and the touch of cinnamon in the dish.
The Eroica riesling is well worth its $22 suggested retail price.
The Eroica’s aromas — papaya, peach and other stone fruit, and springtime grass — give way to a comforting minerality and notes of honey and cold-river stones. A medium body and whispering acidity complete the wine.
The fruit here comes from the Evergreen Vineyard, which is in the Ancient Lakes AVA, and is a wonderful example of cool-climate growth. Grapes were harvested at night and went directly to press, and the wine was aged for 10 months in stainless steel.
The Eroica represents great value; it sports a suggested retails price of $22, but is often available for a bit less (buy here). If you already know and love riesling, this one will definitely not turn you off, and if you are new to the wines produced from this noble grape, give this one a try.
Chicken thighs — bone in and skin on — have been on heavy rotation at The Brockhaus home kitchen lately. I prefer dark meat — thighs and legs over breast for me (though I do make an exception for the perfect scaloppine made with chicken breast, second only to veal in my book for this) — and cooking pieces of poultry that have not been deboned almost always results in more flavorful dishes.
I like to trim the excess skin from the thighs, pat them dry with a towel, place them on a rack on a quarter sheet, and season them liberally on both sides with salt and black pepper (and other spices and herbs, depending on what I’m making.) We let them rest for 20 minutes or so while we do other prep work.
A sauce that provokes desire.
A few nights ago I decided to make what I’ll call chicken puttanesca. I had thighs, and I had some olives, green and black, and capers. The thighs, prepped as noted above, I put skin-side down in a large skillet that contained a tablespoon of shimering olive oil. Heat was medium high. Be patient, don’t manipulate the chicken; when the skin is ready it will release from the skillet. Six or 8 minutes should do it. Flip, brown the other side. Remove the chicken to a plate.
Which Onion Should I Choose?
You’ll have thinly sliced an onion — I used a white onion, but red works as well. In addition, 10 garlic cloves are sliced razor thin, and a red and yellow bell pepper are sliced. If you want, and if necessary, remove all but a few tablespoons of fat from the skillet, but know that that liquid is full of flavor. Add the onion slices and soften them for a few minutes, stirring a few times; add the peppers and cook for 5 more minutes. Then throw in that garlic and a teaspoon or so of fresh crushed red pepper, more if you like it hot, because some do. Cook for three minutes more, then push the mixture to the side of the skillet and squirt some tomato paste into it. I say 2 tablespoons of it. Stir the paste for 4 minutes.
A good way to make your friends happy.
Time for tomatoes. Don’t fret if you can’t get ahold of fresh tomatoes, but if you can, use them. (Score a small “x” on one end of each tomato, boil for 45 seconds or so, then put them in an ice bath until they are cool enough to peel. I won’t judge you if you skip the seeding process. Use about 30 ounces of tomatoes.) I had a 28-ounce can of whole San Marzano tomatoes, and I crushed them in my hands over the skillet. Keep some chunks in your sauce, this is not a thing over which to stress. Once the tomatoes and juice are in the mix stir everything, being sure to scrape the bottom of the skillet. About 5 minutes later I am in the habit of adding a cup of good red wine, perhaps a Chianti or a tempranillo. Stir and let simmer for another few minutes, at medium high.
Here come the olives and capers. I prefer 1 cup of olives, whole and pitted, and 3 tablespoons of capers. Put them in the mixture and stir it all. The thighs can now go back into the skillet; tip the plate they were resting on over the skillet, because you don’t waste the liquid. It tastes good. Oh, I forgot to write that I from time to time add some chicken stock along with the tomatoes and wine. This time I did, because I had made stock earlier in the week and needed to either use or freeze it. Lower the heat to low, partially cover the skillet, and simmer for 20 minutes or so. When done, if the sauce is too thin, remove the chicken and raise the heat for a few minutes, cover off, to thicken the sauce. Taste and season.
A bowl that makes one’s evening better.
Rigatoni or Polenta? You Decide
Now you decide how you’ll serve this. I like rigatoni, or another tube pasta, as the sauce plays well with that, and that’s what I did on that evening, but polenta is another option. Crusty bread? Yes. Sprinkle some Italian parsley over the bowls, and grate some Parmigiano-Reggiano over it all. Drizzle some good olive oil on this if you like that. I’ve served to this many people, and they all, with the exception of one individual, still like me. Pair with that Chianti. (Note: Unlike some skin-on chicken recipes, the goal here is not keeping the skin crisp. In fact, I will often, before serving, remove the skin and take the meat off of the bone, putting equal amounts of the meat in each bowl. The flavor the skin imparts while cooking is marvelous, however, so leave it on while cooking this dish.)
Cheese is one of life’s wonders and necessities. Many are the foods I love, but cheese? I am nothing but passionate about this wonder, this culinary miracle that comes in a multitude of shapes and sizes and textures, not to mention flavor profiles and countries and regions of origin.
My study of and appreciation for “honest” cheese began when I was a teen living in Germany and put a piece of Cambozola in my mouth. The creaminess melded with the distinct tangy flavor (there in part due to the combination of Penicillium camemberti and Penicillium roqueforti that goes into this creation), and I was forever hooked.
It’s cheese’s world … we merely live in it.
From there, wherever I have traveled or called home, cheese has been a constant. France, of course, offers me much, as do Italy and Switzerland. Germany, where I attended high school, and where my serious cheese journey began, will always be one of the centers of my tasting adventures. I recall still a piece of rauchkäse, a smoky, salty, semi-soft cow’s-milk cheese that hails from Bavaria, I tasted near Munich years ago. Smoked with juniper and birch, it was delicious.
Ricotta is another cheese (technically, it is not a true cheese, because it is made from whey, not curdled milk) I love, but at first glance it is nothing about which to get excited, at least visually. No color except white, no visible mold or veining. And most ricotta available in regular grocery stores in the U.S. is bland and rather pedestrian, lacking in complexity and nuance. Unless you have access to a small, mom-and-pop cheesemaker whose inventory includes fresh ricotta, there is a good chance that you’ve never had a quality batch of it.
But you don’t have to venture to Italy or make a special trip to your local cheesemonger (though do visit your cheesemonger) to get your hands on decent ricotta; do as I do and make it yourself. It’s not difficult, and you can control every aspect of the process, including creating your bespoke texture, adding flavor notes, and choosing the type of milk used.
Traditional Method
First, a note. Traditional cheesemakers — in this case I am referring to those who plied (and ply) their trade in Italy — have for centuries used the whey left over from the production of, say, a pecorino or mozzarella, to make ricotta. The whey naturally contains a slight amount of acid, which is necessary to make the cheese. Ricotta means, literally, “re-cooked,” and that’s how it’s done. For a look at one such cheesemaker read Nancy Harmon Jenkins’ profile of Massimiliano Mungilli, whose family has been making raw-milk cheese in northern Tuscany for generations.
At home, of course, most of us do not make fresh pecorino or mozzarella, so that whey will be lacking. However, you can make a cheese that is very similar to ricotta, one perfect for, among other things, a pizza topping, a breakfast dish served with fruit and honey, a sandwich spread, or a salad ingredient, not to mention cannoli, lasagna, and cheesecake. I’ve made hundreds of batches this way over the years, and it’s simple and fun and results in a great product, suitable for both savory and sweet dishes. Note: Some refer to this cheese as “riccottone,” and it does taste different from traditional ricotta, but it is delicious nonetheless.
A mythical maker of cheese.
According to most sources, ricotta has been made in Italy since the Bronze Age (3300 BC – 1200 BC). Some historians speak of ancient Egyptian influence, and it appears that Arabs in Sicily also appreciated the cheese. In the literary-myth world, once imagined we can’t forget the sight of Polyphemus’ cave splendidly stocked with cheese, milk, and wicker baskets used to strain curds:
“Soon we came to the cave, and found him absent, he was grazing his well-fed flocks in the fields. So we went inside and marvelled at its contents. There were baskets full of cheeses, and pens crowded with lambs and kids, each flock with its firstlings, later ones, and newborn separated. The pails and bowls for milking, all solidly made, were swimming with whey. At first my men begged me to take some cheeses and go, then to drive the lambs and kids from the pens down to the swift ship and set sail. But I would not listen, though it would have been best, wishing to see the giant himself, and test his hospitality. When he did appear he proved no joy to my men.”
Cheesecake Material
No matter its origins, ricotta has proved popular, versatile, and beloved. I use it to make cheesecakes, and I use it on pizza night, and it has gone into myriad other dishes I’ve made, especially as a filling for pasta. I’ve modified my method of making it over the years, and have settled on one that satisfies my guests and me every time.
How’s this for simplicity: You need a milk (not ultra-pasteurized) and an acid. That’s it. Salt is optional, though I use it often, depending on what the cheese is destined for. Start with half a gallon of whole milk. Add it to a heavy-bottomed pot and, over medium heat, raise the milk’s temperature to around 180 degrees Fahrenheit, stirring occasionally. When your milk reaches that temperature it’s time to add the acid, which can be in the form of distilled white vinegar or fresh lemon juice; the former is more neutral, while the latter can impart a touch of sweetness and/or citrus flavor. The amount for both types of acid is around 42 ml, or 2 tablespoons plus 2.5 teaspoons. Add whichever you chose and stir for 20 seconds to mix. The second curds begin forming is when you stop stirring.
Now for the important step: Don’t stir again for 20 minutes, and maintain the temperature of your creation between 175 degrees and 185 degrees. Do not panic if you stray outside of that zone by a few degrees, but do endeavor to stay within that area. My method involves turning off the heat when I hit the sweet spot, then, using an instant-read thermometer, turning it back on when the temperature nears 175 to maintain my envelope. Do this for 20 minutes and you are close to making your first batch of homemade cheese.
Next, get a slotted spoon and lift the curds from the pot of milk and place them gently into a strainer lined with cheesecloth or paper towels. Make sure to not leave any curds behind, and strain for as long as you desire. If a drier product is your goal, strain longer. I find that 15-20 minutes is a good time. Use your intuition, and keep in mind how you plan to use the batch. Click here for a video of the process.
I most often use my cheese on the same day I cook it, but you can make it in advance and keep it in an airtight container in your refrigerator; it is best consumed within two days.
Homemade Ricotta
1/2 gallon whole milk 2 tablespoons plus 2.5 teaspoons distilled white vinegar or fresh lemon juice pinch salt (optional)
1. Bring milk to 180 degrees Fahrenheit in heavy-bottomed pot over medium heat, adding salt if using. When milk reaches 180 degrees add acid and stir for 10 seconds. Once curds form — and this happens quickly — stop stirring.
2. Do not stir again. Maintain the temperature of your cheese between 175 and 185 degrees for 20 minutes.
3. Line a strainer with cheesecloth or paper towels and transfer curds to the strainer using a slotted spoon. Drain to your desired moisture level, depending on how you intend to use your cheese. Keep for 2 days in an airtight container in the refrigerator.
Poaching a whole chicken is a simple process, and the outcome is, even if one is a novice cook, always satisfying. Water, some herbs and vegetables and spices, and a bird, plus a little time, and you’re set.
I prepare a chicken in this manner perhaps once or twice a month, on average, and a week or so ago decided to add some dumplings to the mix. My grandmother, and her mother and mother-in-law, made this dish, and those meals were magical for the younger version of me, whether the kitchen and dining table were in Savannah or in the country in Collins, Georgia.
The other inspiration for the dumplings last week was Edna Lewis, a woman I wish I had known. A cake she made is one of my favorites, and her pastry-like dumplings were just as delicious.
A simple dough.
Don’t stress over the design, but if you wish, diamond shapes are a nice touch.
Hard-boiled eggs are a nice touch, and are in Lewis’ recipe, and I added spinach to the broth at the end. Kale would work, too.
Spinach and eggs, and a broth from poached chicken.
My grandmothers would have been proud.
I poached the chicken on a Wednesday, and we made tacos that night. I reduced the stock for five or six hours, and Thursday night we had chicken and dumplings.
Meatballs are among my favorite foods … to make and to eat. I often use a recipe based on one I found years ago, from Michael White. He uses lamb, and I do, too, at times. I also use pork and beef, and I’ve used veal, as well. I’ve ground my own beef and lamb, and added bacon when I want something smokier.
Last night I made meatballs with a mixture of 80 percent ground pork and 20 percent beef. And this time I used something new to me: a meatball mix, called Melly’s Homemade Meatball Mix. It was sent to me by a PR agency, and though I don’t normally cook with mixes, I gave it a go.
A meatball mix from Basking Ridge, New Jersey
I added chopped onion and some oregano to the powder — ingredients include Pecorino Romano, flour, salt, sugar, and a long list of other things, such as guar gum and oat fiber. I also had some panko bread crumbs I had toasted with olive oil a few nights before, so put those in the bowl with the meats and the rest of the ingredients: 1/4 cup chicken broth, 3 large eggs, about 1.75 pounds of meat, and the onions and oregano. I also microplaned some Parmigiano-Reggiano into the meat.
The mixture as a whole seemed a bit dry, drier than my usual method of making meatballs, so I added a touch of water, perhaps 1/4 cup. It looked and felt better, so I rolled the meat into balls and let them sit in the refrigerator for 30 minutes or so.
The meatballs are ready for the olive oil in which they would be fried.
When I was ready to cook the meatballs I poured about 1/2 a cup of olive oil in a skillet — you can use a nonstick pan if you prefer; I used a Belgique skillet I’ve had since 1994, likely the pan I’ve used most often over the years.
The Melly’s Homemade people advise one to cook the meatballs on medium heat, until they reach an internal temperature of 160F. That’s fine — you can also bake them. I, however, was making a tomato sauce, so merely browned the meatballs; they would fully cook in the sauce.
Sardinian tomatoes
For the sauce, I used a can of Posardi peeled tomatoes, grown on the island of Sardinia. They were slightly sweet, and wonderfully acidic. I chopped a small white onion, cut three garlic cloves into slivers, and heated 1/4 cup or so of olive oil in a small pan. Sauté for five minutes, until the vegetable soften, then add 1/4 cup of red wine and let cook for 5 minutes more. Next, salt and dried oregano (to taste).
Onions and sliced garlic
It’s time to add the tomatoes to the sauce; the ones I used were whole, so I gently mashed them with a wooden spoon, stirred, and let the mixture simmer for 10 minutes. I then added eight meatballs — the remainder I put into the refrigerator for another meal— covered the pan, and let them simmer for 40 minutes or so.
The tomatoes and wine joined the mix.
The meatballs bathed in the sauce for 40 minutes.
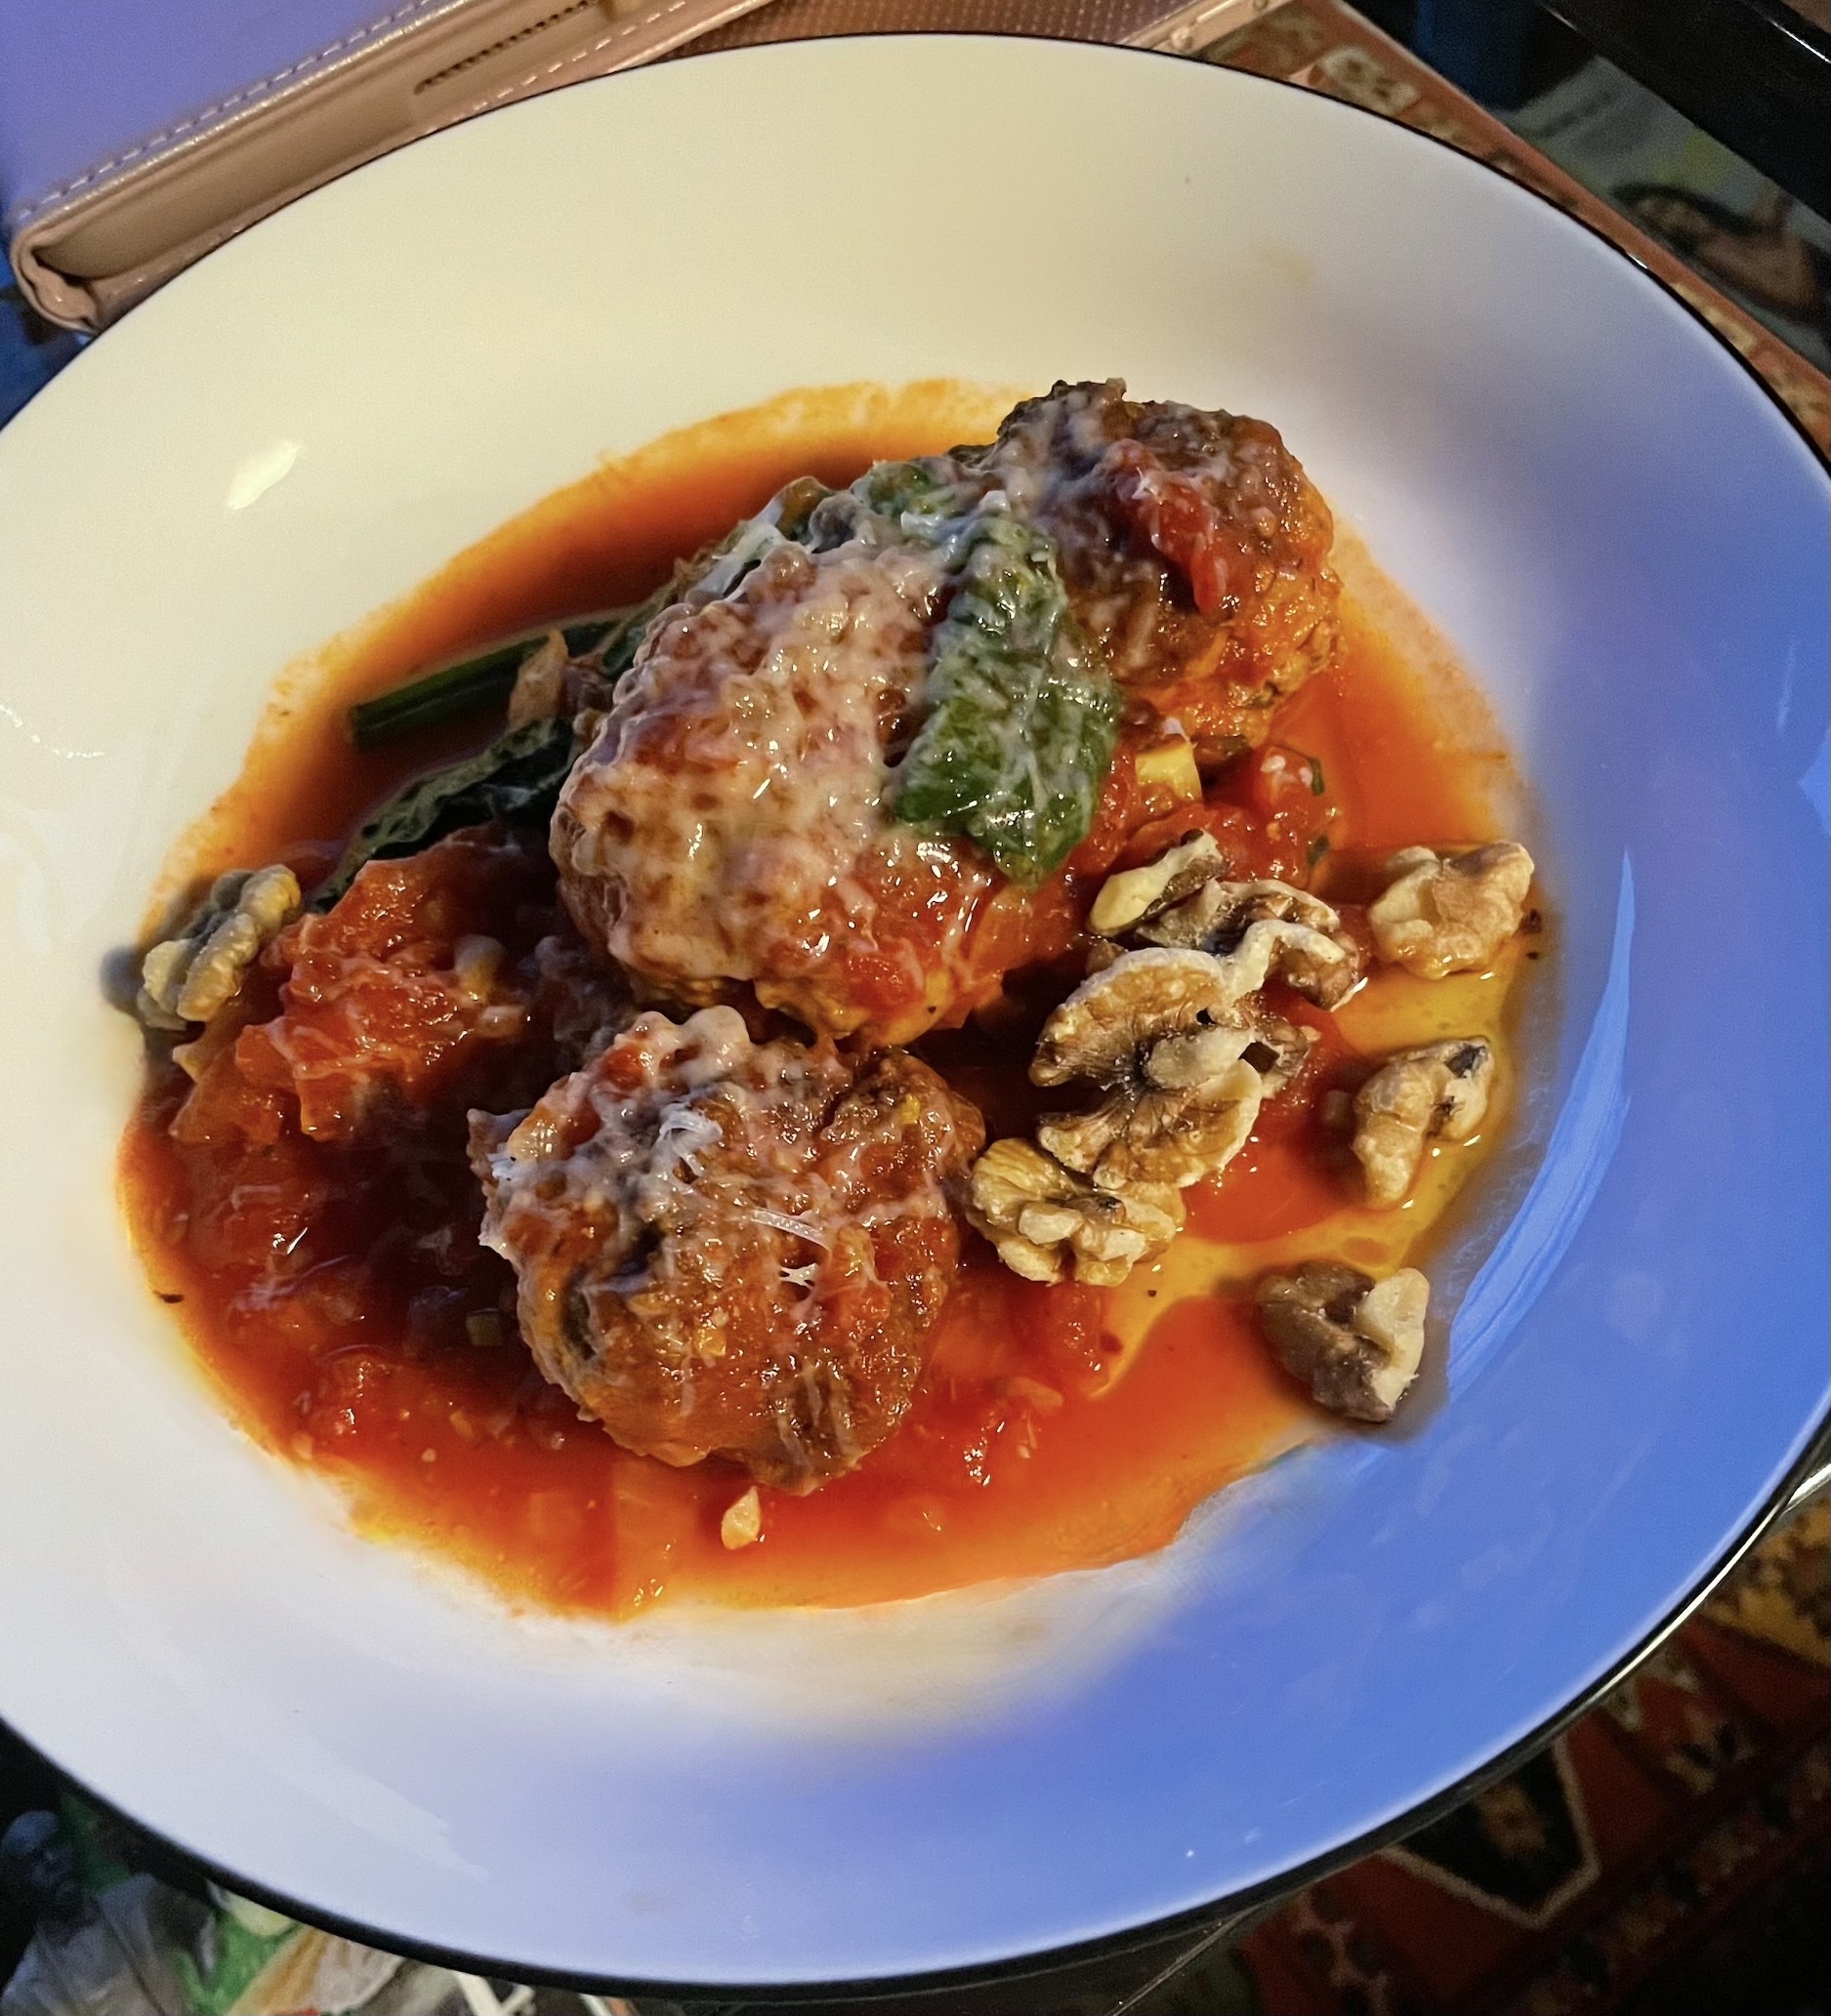
I like adding some color (other than red) to my meatball dishes, and the addition of fresh spinach is a great way to go. A few minutes before you are ready to serve, toss a handful of spinach into the pan and cover again. The heat and moisture wilt the greens, and you’re done.
Add some spinach if you wish.
How you plate the meatballs is up to you. I ate mine over farfalle, Angela enjoyed hers without the pasta. Both ways are good.
I added toasted walnuts …
I paired the meal with a 2018 red blend from Aperture Cellars (39 percent Cabernet Sauvignon, 33 percent Merlot, 22 percent Malbec, 3 percent Cabernet Franc, and 3 percent Petit Verdot).
A Sonoma red blend for the meatballs
Verdict on the Melly’s Homemade mix? I would use it again if severely pressed for time. It is in no way bad, though I found the seasoning a bit bland. It’s convenient, however, and if that appeals to you, give the product a try.
Today is National Meatball Day, a feast day of which I was ignorant until this morning, when a friend posted a photo of meatballs and spaghetti on her Facebook page and mentioned D’Amico’s Italian Market Café, a restaurant in Houston that has served more than its share of polpette over the years.
I love to eat meatballs, and I like to make them, and have done so many times, using everything from veal to pork to shrimp to beef to ground bacon (and myriad combinations thereof). They are (most of the time) easy to prepare, and they are comforting, and they make one feel good.
My usual go-to method is one I based on Michael White‘s recipe, for Sicilian lamb meatballs. It includes pine nuts and raisins and eggs, and it is delicious. I’ve made it many times, and I’ll continue to serve this meatball dish.
Meatballs in olive oil
Last night, however, the meatballs I made — was I perhaps subconsciously aware of the impending holiday?— were composed mainly of vegetable protein from Impossible Foods, to which I added some salami and, because they were an impulse purchase, something I spied near the grocer checkout, Takis Rolled Tortilla Chips (the chili pepper and lime version). I bought a small bag, ate some — most of them — and added the rest, which I crushed coarsely — to the meatball mixture, which also included Panko, an egg, some dried herbs, salt and black pepper, and a chopped onion.
The Takis did not add anything to the meatballs, and the amount of them I used was basically minuscule. However, the rest of the ingredients combined to create a great dish.
I browned the meatballs in some olive oil, then finished them in a tomato sauce I cooked up. We served them over sautéed spinach, and they were good.
A simple meal, but one that provides profound pleasure.
There are times when nothing will do but a comforting dish from the past, from one’s childhood perhaps. Sausage, cheese, eggs, and bread might be in the mix.
This morning was one of those times. A Valentine’s Day-Presidents Day weekend brunch of a rustic casserole the cool weather brought to my memory.
And the smoked paprika covered it all …
It’s what I made.
The sausage slid from its casing in a sensual manner, and it sizzled in the pan, sizzled. Dry mustard, brioche buns, smoked paprika.
At the table, it sat on a wooden trivet.
The past was complete, at least of portion of the past. It was good.



















Recent Comments